 how-to
How to Repair Cracked Grout in Bathroom Floor Tiles
Table of Contents
- Why Grout Cracks on Bathroom Floors
- Tools and Materials You'll Need for Repair
- How to Remove Old Grout Without Damaging Tiles
- Step-by-Step Guide to Repair Cracked Grout
- How Long Does Grout Take to Dry
- Choosing the Best Grout Repair Kit for Bathroom Tiles
- When to Call a Professional for Tile Repair
- Frequently Asked Questions
Last Updated: September 8, 2026
Cracked grout in bathroom floor tiles is often the first sign of a deeper moisture problem, not just a cosmetic nuisance. When water seeps through those hairline cracks, it can reach the subfloor and lead to mold growth or loose tiles over time. This guide from Handyman Service Aurora walks through the complete process for repairing cracked grout, from diagnosing why it failed to applying a fresh seal. Below, we cover the exact tools, techniques, and materials needed to restore your bathroom floor to a watertight condition.
Why Grout Cracks on Bathroom Floors
Before mixing any repair material, identify the root cause of the cracking. Grout is a rigid cementitious product, and it cracks when something moves or flexes beneath it. The most common culprits are subfloor deflection, missing expansion joints, or using the wrong type of grout for the joint width. However, the pattern of the crack itself is your first diagnostic clue.
Hairline cracks running in a straight line across a joint typically indicate the tile substrate is flexing. This can stem from inadequate subfloor thickness, the TCNA Handbook requires a minimum of 1-1/8 inches of plywood for ceramic tile installations, or from floor joists spaced too far apart for the tile assembly (tcnatile.com). If you can feel slight movement when you stand on the floor near the crack, the issue is structural, and re-grouting alone will fail.
Spider-web or alligator cracking within the grout itself, without a linear pattern, usually points to a material problem. This happens when the grout was mixed too wet, applied too thickly, or when the tile was not properly supported during installation. A common pattern is grout that was forced into joints over a fresh mud bed that hadn't fully cured, causing the grout to shrink and craze as it dried.
Cracks concentrated at the corners of the floor or where the floor meets a tub or shower base are almost always a sign of missing movement joints. Building codes and TCNA guidelines require a soft joint (silicone caulk) wherever the tile field changes plane or meets a fixed object. Grout is not flexible; it has a maximum movement accommodation of about 1/16 of an inch (mapei.com). When a house settles or the bathroom experiences seasonal humidity swings, the lack of a soft joint transfers all stress directly into the grout, causing it to shear.
A bathroom floor experiences constant moisture and temperature swings, which cause the substrate to expand and contract. If the grout lacks flexibility or the tile installation didn't include proper movement joints, the stress has nowhere to go except through the grout lines. Fixing the crack without addressing the movement means you will likely repeat this repair within a year.
To determine if the issue is isolated or systemic, run a simple water test. Drip a few drops of water onto the cracked grout line. If the water is absorbed within 30 seconds, the grout has lost its integrity and moisture is already reaching the substrate. If the water beads up, the grout is still somewhat sealed, and the crack may be purely cosmetic for now. This test also tells you whether you can spot-repair or need to consider a full re-grout, because moisture trapped in the joint will prevent new grout from curing properly.
Tools and Materials You'll Need for Repair
Assemble the right tools before you start, since stopping mid-project to hunt for equipment lets moisture sit in open joints. For mechanical removal, you need a grout saw or an oscillating multitool fitted with a grout blade. A carbide tip on your removal tool helps cut through harder cementitious grout without chattering.
The application phase requires a rubber grout float to press material deep into the joints, plus a damp sponge for shaping and cleaning. You will also need safety goggles and a dust mask, because grinding old grout produces fine silica dust that is hazardous to breathe (osha.gov). For the new material, choose between sanded grout for joints wider than 1/8 inch and unsanded grout for narrower lines. A grout sealer applied after curing protects the porous surface from future moisture absorption.
How to Remove Old Grout Without Damaging Tiles
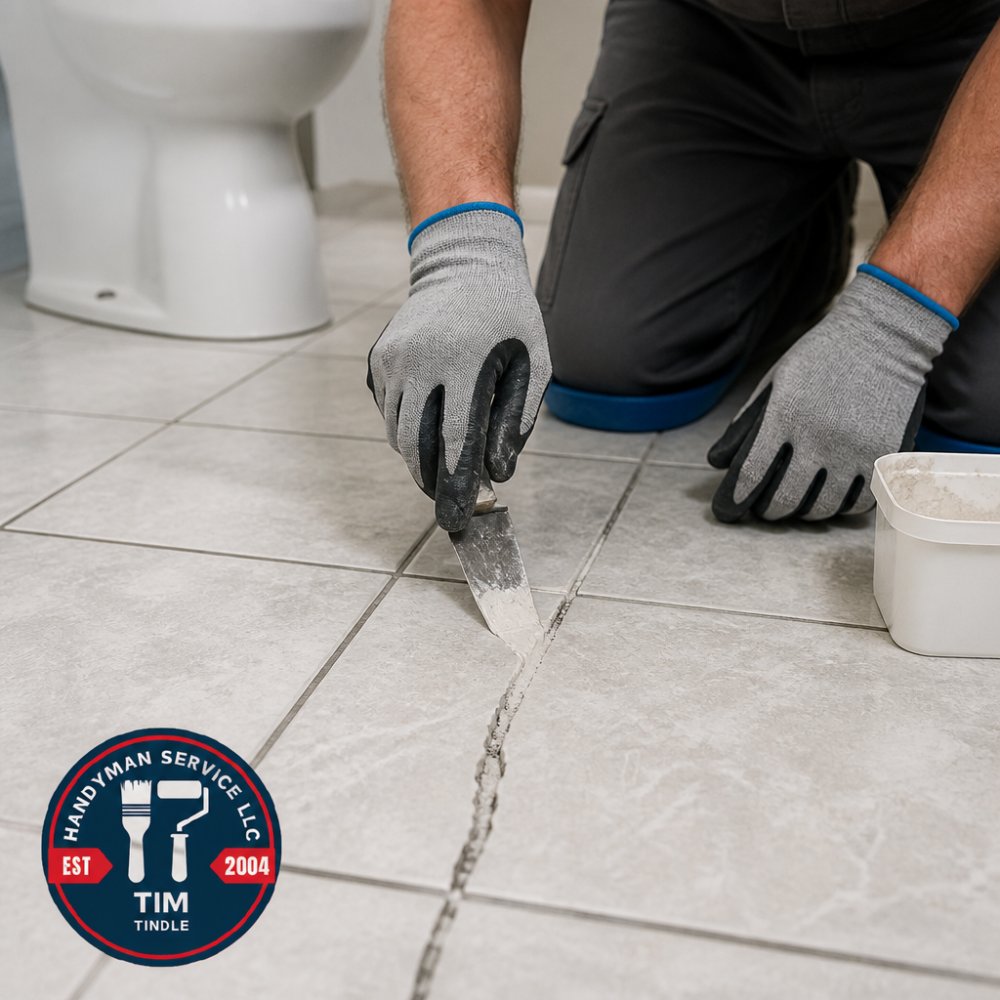
Removing cracked grout calls for patience and the correct technique, since the goal is to clear the joint without chipping the tile edges. Start with a manual grout saw for small repairs, guiding the blade along the center of the joint at a slight angle. For larger areas, an oscillating multitool with a grout blade removes material faster, but keep the tool moving to avoid gouging the tile glaze.
Work to a consistent grout depth of about 2/3 of the tile thickness. Shallow removal leaves too little surface area for the new grout to bond, while cutting too deep can expose the waterproofing membrane beneath. Vacuum the joints thoroughly after removal to eliminate dust and loose particles, which prevent the fresh grout from adhering properly.
| Removal Method | Best For | Grout Depth Achieved | Risk to Tiles |
|---|---|---|---|
| Manual grout saw | Small repairs, tight corners | 1/8 to 1/4 inch | Low |
| Oscillating multitool | Large areas, hard grout | Consistent 1/4 inch | Moderate |
| Rotary grout removal bit | Curved or angled lines | Variable | High |
Step-by-Step Guide to Repair Cracked Grout
With the old material fully removed and the joints clean, the actual repair follows a straightforward sequence. This process applies to most cementitious grout products and works for both spot repairs and full floor re-grouting.
Clean the Joints and Let Them Dry
The cleaned joints must be completely dry before applying new grout. Wipe the edges of the tiles with a damp sponge to remove dust, then follow with a microfiber cloth. If you used a grout saw, the dust can cling to the tile surface and contaminate the fresh mix. Allow the area to air dry for several hours, or use a fan to speed the process in a humid bathroom. New grout will not cure properly if it is mixed with moisture already sitting in the joint.
Mix and Apply the New Grout
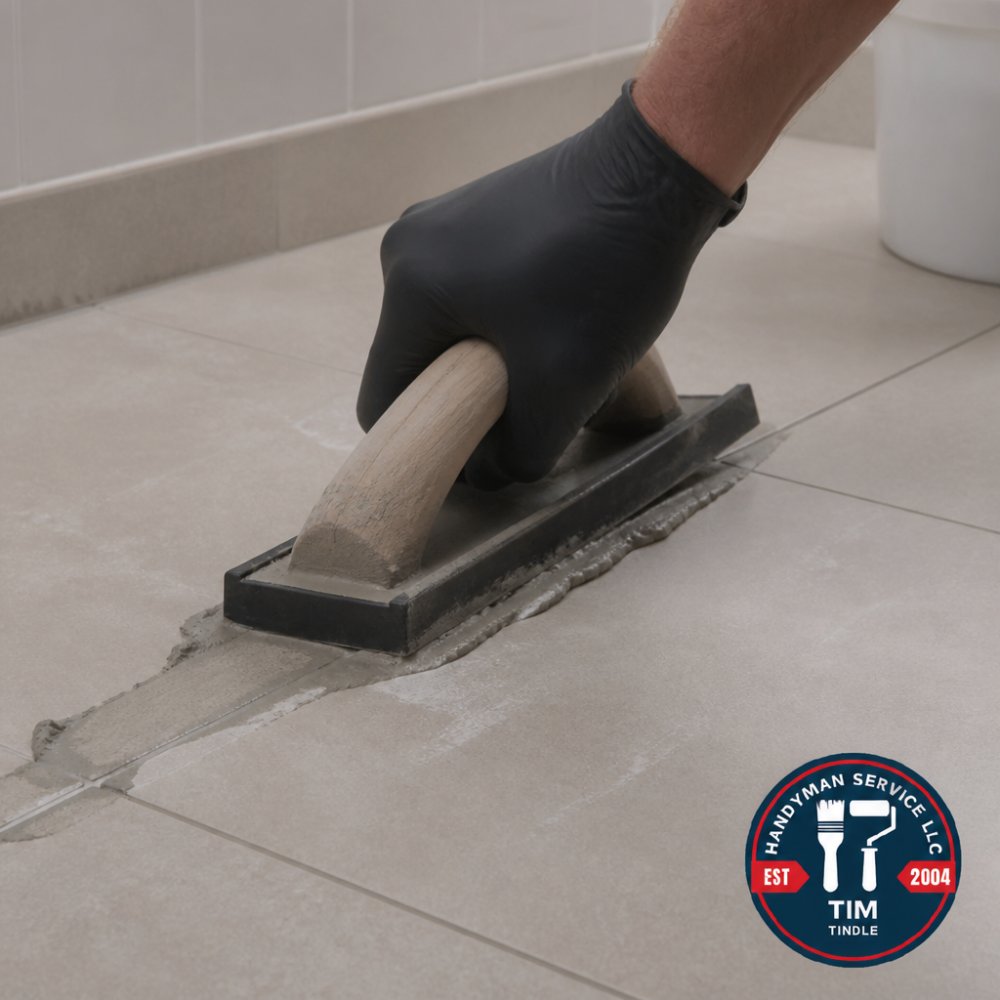
Mix the grout according to the manufacturer's instructions, adding powder to water gradually until you reach a peanut butter consistency. Let the mixed grout slake for the recommended time, then remix before application. Load a portion onto the rubber grout float and press it into the joints at a 45-degree angle, working in small sections so the material does not skin over before you shape it. Hold the float nearly perpendicular to the floor and scrape away excess, then use the damp sponge to smooth the joints and remove surface residue.
Call 720-989-4123 for a free estimate →
Remove Grout Haze and Apply Sealer
A fine film called grout haze will appear on the tile surface as the grout dries. Buff this away with a dry microfiber cloth once the grout has set enough to resist indentation. After the grout has cured for the full time specified on the package, apply a penetrating grout sealer with a small brush or applicator bottle. The sealer soaks into the porous grout and creates a barrier against water, soap scum, and future staining.
How Long Does Grout Take to Dry
Grout curing time depends on the product type, joint depth, and bathroom humidity, but most cementitious grouts require 24 to 48 hours before foot traffic. Epoxy grout cures faster, often within 12 hours, though it costs more and is harder to work with for DIYers. The curing process is not the same as surface drying. The grout may feel dry to the touch within an hour, but the chemical reaction that gives it strength continues for days. Wait the full curing time before applying sealer, since sealing too early traps moisture inside the joint and weakens the final product.
Choosing the Best Grout Repair Kit for Bathroom Tiles
For small repairs, a grout repair kit offers convenience since it includes the removal tool, pre-mixed grout, and applicator in one package. However, the term "grout repair kit" covers two distinct product categories, and choosing the wrong one is the fastest way to waste an afternoon. The first category is a simple re-grouting kit, typically a small tub of pre-mixed grout, a sponge, and a applicator tip. The second is a grout colorant kit, which uses a polymer-based paint to recoat existing grout lines without removing the old material.
The best grout repair kit for bathroom tiles depends entirely on the condition of your existing joints. If you have already removed the cracked grout and are working with clean, open joints, a standard sanded or unsanded grout is the correct choice. If the grout is intact but discolored or crazed with hairline surface cracks, a colorant kit like Polyblend Grout Renew or Custom Building Products' Grout Colorant can seal and recolor the surface without the mess of full removal. These colorants are essentially a thin acrylic coating that bonds to the existing grout, and they work well when the underlying grout is still structurally sound.
When selecting a kit, check the joint width on your floor and confirm whether it contains sanded or unsanded grout. Using sanded grout in a narrow joint makes it difficult to pack the material fully, while unsanded grout in a wide joint will shrink and crack. The rule of thumb is straightforward: joints 1/8 inch or narrower require unsanded grout, and joints wider than 1/8 inch need sanded grout. The sand particles in sanded grout provide the compressive strength needed to bridge wider gaps without shrinking.
For bathroom floors specifically, consider whether a cementitious grout is even the best material for your repair. Epoxy grout, sold in two-part kits, is stain-proof, waterproof, and does not require sealing. It is significantly more difficult to work with, it has a working time of about 45 minutes and requires a specialized cleaner during application, but it is the only grout type that will never crack due to moisture absorption. If your bathroom floor has experienced repeated grout failure despite proper installation, switching to epoxy eliminates the porous-cement problem entirely.
A final consideration is the sealer. Most pre-mixed repair grouts and colorants include a sealer or claim to be pre-sealed. If you are using a traditional cementitious grout powder, you will need to budget for a separate penetrating sealer. Apply it only after the grout has fully cured, typically 72 hours for sanded grout, because sealing too early traps the moisture needed for the cement hydration process and leaves the grout soft and chalky.
When to Call a Professional for Tile Repair
Some situations exceed the scope of a DIY grout repair, and recognizing them early prevents costly damage. If you notice multiple cracked tiles, hollow sounds when tapping the floor, or a spongy feeling underfoot, the problem likely involves the tile adhesive or subfloor rather than the grout. These conditions require removing and replacing tiles, which demands experience to avoid damaging surrounding surfaces.
Large bathrooms with extensive cracking also benefit from professional assessment, since the pattern of failure often reveals structural issues. Handyman Service Aurora provides licensed and insured tile repair services throughout Aurora, Foxfield, Parker, Centennial, and the Denver Metro area. Our team handles the full scope of bathroom repairs, from grout replacement to complete tile removal and reinstallation, with free estimates provided before any work begins.
Repairing cracked grout in bathroom floor tiles protects your home from water damage and restores the finished look of the space. Start by identifying why the grout failed, remove the damaged material carefully, and apply fresh grout with proper technique and curing time. For homeowners who prefer professional results or face structural issues beyond simple grout replacement, Handyman Service Aurora offers licensed, insured tile repair backed by transparent pricing and free estimates. Call 720-989-4123 to schedule an assessment and get your bathroom floor back to a watertight condition.
Frequently Asked Questions
Can you just grout over cracked grout?
No. Grouting over cracked grout creates a weak bond that will fail again. The new grout cannot adhere to the crumbling old material, and the repair will likely crack within weeks. You must remove the damaged grout down to about two-thirds of the tile depth to create a solid base for the new grout to bond to.
What causes grout to crack on bathroom floors?
Grout cracks for several reasons. Normal movement from subfloor deflection or temperature changes is a common cause, which is why flexible silicone caulk is recommended for corners and movement joints. Other causes include using the wrong grout type for the joint width, mixing it too dry, or walking on the floor before the grout has fully cured.
Do I need to remove all old grout before repairing?
You only need to remove the cracked or crumbling grout from the affected joints. You do not have to remove grout that is still in good condition. Use a grout saw or oscillating multitool to carefully scrape out the damaged material without chipping the edges of your tiles. The repair will blend best if you color match the new grout to the existing one.
How much does professional grout repair cost?
The cost to repair cracked grout varies significantly based on the size of the bathroom, the extent of the damage, and whether the underlying issue is structural. For an accurate price, contact Handyman Service Aurora for a free estimate. They provide transparent pricing and can advise if a simple grout replacement is sufficient or if a larger tile repair is needed.