 blog
Best Way to Remove Water Stains From Ceiling Drywall
Table of Contents
- Step 1: Find the Source Before You Touch the Stain
- Mold or Water Stain? How to Tell the Difference
- Tools and Safety Gear for Cleaning Ceiling Water Stains
- Step-by-Step: How to Remove Water Stains From Ceiling Drywall
- Best Primer for Ceiling Water Stains (and When to Skip Painting)
- How Long to Dry Ceiling Before Painting
- When to Stop Cleaning and Call a Professional
- Frequently Asked Questions
Last Updated: September 29, 2026
Step 1: Find the Source Before You Touch the Stain
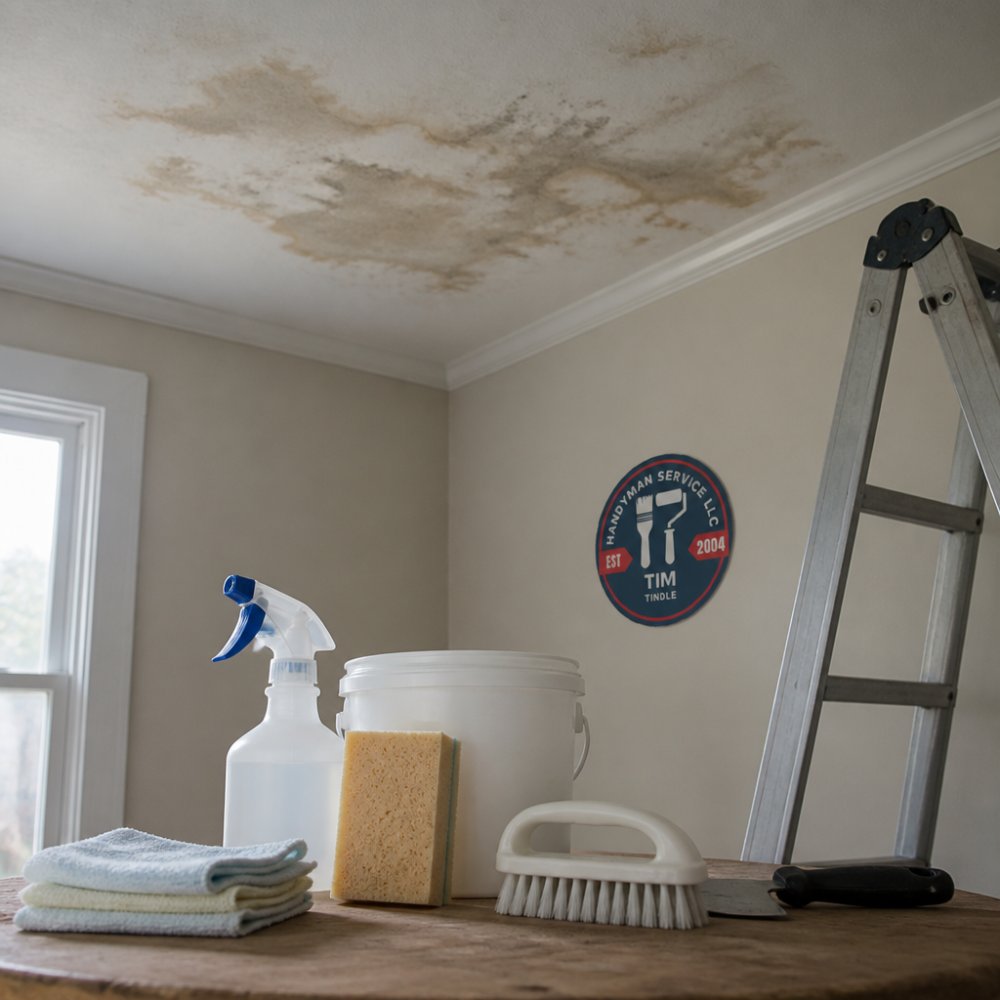
The best way to remove water stains from ceiling drywall starts with finding the leak, not scrubbing the stain. A brown ring is a symptom; the real problem sits above it and will keep coming back until you fix it.
Water stains come from four common sources:
- Roof leaks where shingles or flashing have failed
- Plumbing leaks in the bathroom or attic above
- Condensation from poor attic ventilation
- Overflow from a tub, toilet, or appliance
Fix the source first, then treat the stain.
Signs of Active Roof Leaks You Should Never Ignore
Active leaks leave clues. Check these first:
- A musty smell that never goes away
- Soft or spongy spots in the ceiling
- Dripping sounds during rain
- Peeling paint near the stain
- Dark streaks spreading after storms
If any show up, the leak is live. Cleaning the stain now is pointless, call a roofer or trusted repair pro to stop the water first.
Mold or Water Stain? How to Tell the Difference
Mold and water stains look similar but need different treatment.
Tools and Safety Gear for Cleaning Ceiling Water Stains
Gather your supplies before you start. Working overhead is awkward, and you do not want to climb down every two minutes.
Safety gear:
- Safety goggles
- Rubber gloves
- A respirator or N95 mask
- Old clothes you do not mind ruining
Tools and materials:
- A stepladder
- Drop cloths
- A spray bottle
- Clean rags or sponges
- Mild detergent
- A bucket of warm water
- Stain-blocking primer
- Patching compound
Step-by-Step: How to Remove Water Stains From Ceiling Drywall
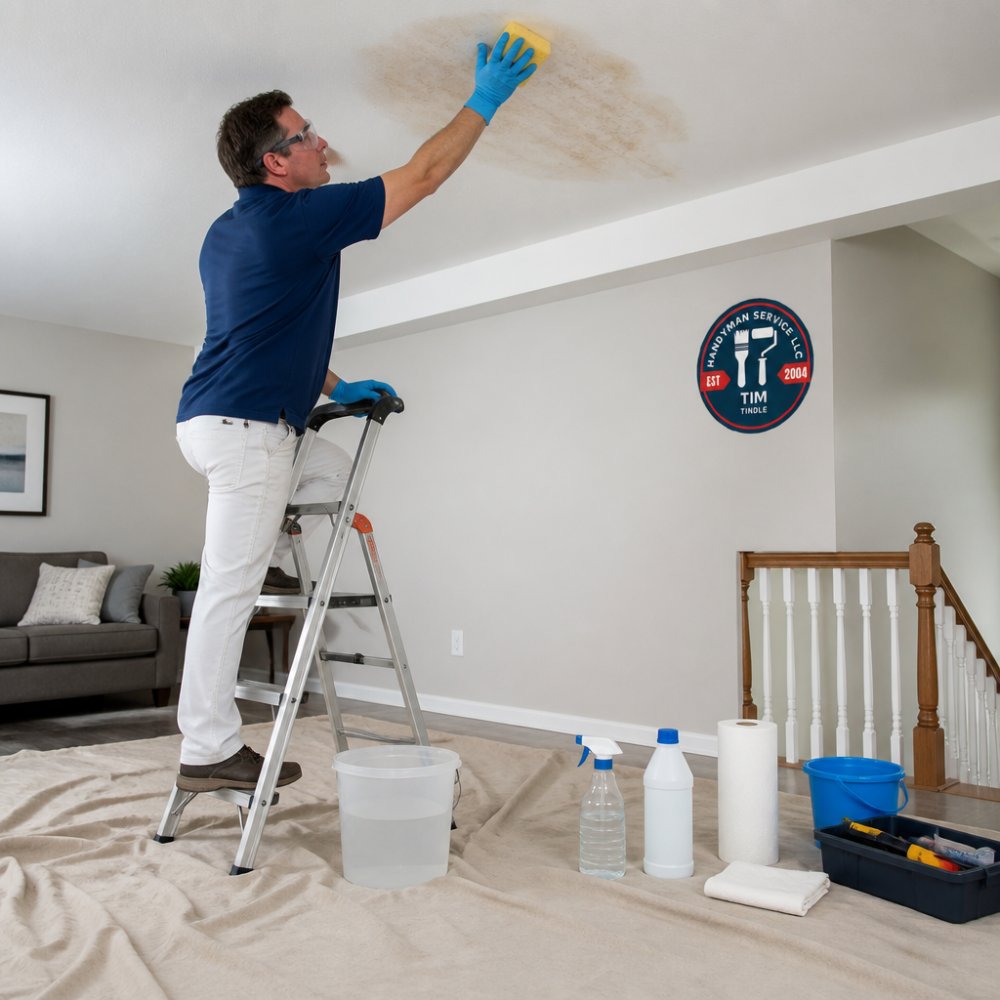
Follow these steps in order.
- Confirm the leak is fixed. No cleaning until the water source is stopped.
- Lay drop cloths. Protect floors and furniture below.
- Ventilate the room. Open windows, run a fan.
- Mix your cleaner. See the recipe below.
- Test a small spot. Check for paint damage first.
- Apply with a dabbing technique. Never scrub, which spreads the stain.
- Wipe clean. Use a damp rag, then let it dry fully.
- Inspect the surface. Look for soft spots or cracking.
- Prime and paint. Only after the ceiling is completely dry.
Homemade Cleaners: Bleach Solution vs. White Vinegar
Both work, but suit different jobs.
| Cleaner | Best For | Watch Out For |
|---|---|---|
| Bleach solution | Mildew, tough stains | Fumes, fabric damage |
| White vinegar | Light stains, mild odor | Weak on heavy mildew |
| Mild detergent | Fresh stains | Needs rinsing |
Bleach solution: Mix one part bleach with three parts warm water, apply with a spray bottle, let sit a few minutes, then dab dry.
Textured Ceiling Techniques That Prevent Damage
Textured and popcorn ceilings need a lighter touch. Scrubbing tears the texture right off.
- Use a spray bottle, not a sponge
- Dab, never rub
- Work in small sections
- Let each section dry before the next
Best Primer for Ceiling Water Stains (and When to Skip Painting)
The best primer for ceiling water stains is a solvent-based stain-blocking primer, either oil-based (alkyd) or shellac-based. Water-based primers and standard latex paint let the tannins and dissolved minerals in the stain migrate back to the surface, which is why a brown ring reappears a few weeks after a cheap repaint.
Why the Stain Comes Back
A water stain is not just discoloration on top of the drywall. Water carries dissolved organic compounds, lignin from paper facing, tannins from wood framing, rust from nails and pipe straps, into the gypsum core and paper skin, and they stay behind when the surface dries. Latex paint stays slightly permeable to moisture vapor, so humidity re-wets those compounds and they wick upward.
Call 720-989-4123 for a free estimate →
Primer Selection by Situation
| Situation | Best Choice | Why |
|---|---|---|
| Light tan or yellow ring, one-time leak | Oil-based stain-blocking primer | Cheapest reliable option; one coat usually seals |
| Dark brown or rust-colored ring | Shellac-based primer | Highest blocking power; dries in about 45 minutes |
| Kitchen or bathroom ceiling | Shellac-based primer | Resists the humidity that drives re-bleed |
| Ceiling previously painted with latex and still bleeding | Shellac-based primer | Oil-based may not seal an already-saturated film |
| Smoke or soot damage combined with water stain | Shellac-based primer | Blocks both odor and stain |
Shellac-based primers carry a strong alcohol odor and require ventilation. Oil-based primers have a longer recoat window, typically 4 to 6 hours, and need mineral spirits for cleanup. Neither suits a room occupied by someone with respiratory sensitivity; ventilate aggressively and plan the work for a day the room can be empty.
Application Specifics
- Cut in the perimeter with a 2-inch angled brush before rolling.
- Roll with a 3/8-inch nap cover. A thicker nap wastes primer in the texture and does not improve blocking.
- Apply one coat and let it dry fully. If any discoloration telegraphs through, apply a second coat rather than switching products.
- Do not thin the primer. Thinning breaks the film and reopens the path for the stain.
- Topcoat with the ceiling paint of your choice once the primer is fully cured, not just dry to the touch.
Post-Priming Inspection: Catching Bleed-Through
This is the step most guides skip. After the primer dries, look at the ceiling in raking light, a flashlight held at a low angle. Bleed-through shows up as a faint ghost of the original ring. If you see it, either apply a second coat of the same primer and re-inspect, or switch to shellac-based primer if you started with oil-based.
When to Skip Painting Entirely
Do not prime or paint if any of these are true:
- The drywall is soft, spongy, or crumbles when pressed.
- The ceiling sags or bows.
- The stain is still damp to the touch.
- You have not confirmed the leak source is repaired.
- Mold is visible on the surface or behind the paper facing.
How Long to Dry Ceiling Before Painting
Wait at least 24 to 48 hours before painting. In humid rooms, give it 72 hours.
When to Stop Cleaning and Call a Professional
Most guides tell you to call a pro when things look bad, not useful when you are on a ladder trying to decide. What you need is a way to tell whether the drywall is still sound or whether the ceiling has crossed from a cleaning job into a repair job.
The Structural Integrity Check
Before you clean anything, press the flat of your hand, not a fingertip, against the stained area and the drywall around it. You are feeling for three things:
- Give. Sound drywall feels rigid and slightly cool. Compromised drywall feels soft, spongy, or flexes under light pressure.
- Crumbling. If the paper facing or gypsum crumbles or powders when you press, the core has lost cohesion. Cleaning will not fix that.
- Sag. Sight along the ceiling from across the room. Any bow, dip, or wave that was not there before the leak is a structural warning.
What the Drywall Is Telling You
Gypsum drywall is a paper-faced gypsum core. When it gets wet, the paper facing delaminates and the gypsum softens and loses strength; once saturated and dried, it does not regain its original rigidity, so a weakened panel can sag further under its own weight, insulation, and attached fixtures.
When to Call a Pro
Call a licensed professional when any of these apply:
- The ceiling sags, bows, or flexes under hand pressure.
- The drywall is soft, crumbling, or has visible cracks radiating from the stain.
- The stain covers more than a few square feet, or the soft area extends past the visible ring.
- Mold is visible, or there is a persistent musty odor even after the surface dries.
- You cannot locate the leak source, or the leak keeps returning after repair attempts.
- The ceiling contains recessed lights, ceiling fans, or HVAC registers in the affected area, those add load and complicate replacement.
- The stain is on a textured or popcorn ceiling that will need matching after repair.
A sagging ceiling is not cosmetic, it is a load-bearing warning. Drywall panels are heavy, and a saturated panel that has lost its bond to the joists can fail suddenly.
What a Professional Assessment Actually Involves
A qualified drywall or restoration pro will typically:
- Use a moisture meter to check the drywall core, not just the surface.
- Probe the affected area to map how far the moisture has spread.
- Check the ceiling cavity above for standing water, damaged insulation, or compromised framing.
- Confirm the leak source is actually repaired before any cosmetic work begins.
- Cut out and replace compromised sections, then re-texture and prime to match the surrounding ceiling.
This is where a licensed pro earns their keep. Our team handles drywall repair, patching, texturing, and painting across the area. We are licensed and insured, and we offer free estimates so you know what you are getting into before we start.
Frequently Asked Questions
How do I get brown water stains off my ceiling?
Start by fixing the leak source, then let the drywall dry completely. Mix one part bleach to three parts water, dab it onto the stain with a sponge (never soak the drywall), and let it dry. For stubborn brown marks, apply an oil-based stain-blocking primer before repainting. If the stain returns within days, the leak is still active and needs professional repair. Call a licensed pro if you see sagging or soft spots.
Can I just paint over a water stained ceiling?
Only if the leak is fixed and the drywall is fully dry. Painting over a wet or active leak traps moisture, and the stain will bleed through within weeks. Always clean the stain first, then apply a stain-blocking primer. Water-based primer rarely hides brown stains; an oil-based or shellac primer works better. If the ceiling feels soft or sagging, painting is pointless because the drywall needs replacement.
What is the best water stain remover for ceilings?
A diluted bleach solution (1 part bleach to 3 parts water) handles most surface stains and mildew. White vinegar mixed with mild detergent works for lighter discoloration and is safer for indoor air quality. For stains that keep bleeding through paint, an oil-based stain-blocking primer is the real fix. Never oversaturate the drywall; too much moisture weakens the ceiling substrate and damages paint adhesion.
When should I call a professional for ceiling water damage?
Call a pro when the stain grows after cleaning, the drywall sags or feels soft, or you smell mildew. These point to an active leak, structural moisture, or fungal growth inside the ceiling cavity. A moisture meter reading above 15% means the drywall is still wet and painting will fail. Licensed pros can trace the leak, replace damaged drywall, and repaint so the stain does not return.
A water stain is rarely just a stain. It is a signal that something above your ceiling needs attention. Handyman Service Aurora can trace the source, repair the drywall, and repaint the ceiling so it looks new. We handle carpentry, painting, remodeling, and general repairs, all backed by our licensed and insured team. Call 720-989-4123 for a free estimate and get your ceiling back to normal.