 how-to
How to Fix Gaps in Crown Molding: Step-by-Step
Table of Contents
- Why Gaps in Crown Molding Appear
- Tools and Materials You'll Need
- Choosing the Best Caulk for Crown Molding
- Step-by-Step: How to Fix Gaps in Crown Molding
- How to Caulk Crown Molding Corners for a Clean Finish
- Painting, Blending, and When to Call Professional Crown Molding Installation Services
- Frequently Asked Questions
Last Updated: October 1, 2026
Why Gaps in Crown Molding Appear
A gap between crown molding and the ceiling or wall is usually caused by one of two things: the house moved, or the molding was never fit tightly in the first place. Knowing which one you're dealing with changes how you fix it. This guide from Handyman Service Aurora walks through both causes, then shows you exactly how to fix gaps in crown molding with tools you can buy at any hardware store.
Here's the part most guides skip. Paintable latex caulk hides a gap that opens and closes with the seasons. It will not hide a molding that was cut short or nailed in crooked.
Wood expands and contracts as indoor humidity swings through the year. In a heated home, winter air dries the framing and the trim shrinks slightly. Summer humidity pushes it back out. That movement opens thin cracks along the ceiling line and at miter joints, and it happens in almost every home eventually.
Installation error looks different. The gap is wider on one end than the other, or it stays the same size all year. A miter joint that never met flush will not close on its own.
Seasonal Movement vs. Installation Error
Watch the gap for a few weeks before you touch it. If it opens in winter and nearly closes in summer, you're seeing seasonal movement. Caulk is the right repair.
If the gap stays put, measure it.
Tools and Materials You'll Need
Gather everything before you start. A repair like this takes under an hour once you're set up, but stopping halfway to hunt for a putty knife wastes the trip.
- Painter's caulk or latex caulk, paintable
- Lightweight spackle or joint compound
- Caulking gun
- Putty knife
- Sanding block, fine grit
- Backer rod for gaps over 1/4 inch
- Clean rag or baby wipes
- Painter's tape
- Primer and touch-up paint matched to your trim
Choosing the Best Caulk for Crown Molding
The best caulk for crown molding is a paintable, non-shrinking acrylic latex or siliconized acrylic caulk labeled for interior trim. It stays flexible as the wood moves, takes paint cleanly, and cleans up with water. That flexibility is the whole point, a rigid filler cracks the first time the joint moves.
- Acrylic latex (paintable, non-shrink): The default choice for hairline and seasonal gaps. Bonds to painted wood and drywall, tools with a wet finger, and accepts paint in 1-2 hours. It handles normal seasonal movement but has limited stretch.
- Siliconized acrylic: A hybrid that adds a small amount of elasticity to the acrylic base. Good middle ground for joints that open and close noticeably between winter and summer. Still paintable, still water-cleanup.
- 100% silicone: Skip it. Paint beads and peels off silicone within a season, and it can't be tooled with water. It's the wrong product for a joint you intend to paint.
- Elastomeric/polyurethane sealants: Maximum stretch for joints with real movement, but many are not paintable or require a specific primer. Use only if you've confirmed the label says paintable and you've diagnosed genuine structural movement.
Why Backer Rod Changes the Repair
Backer rod is a closed-cell foam rope you press into a gap before caulking. It matters for two mechanical reasons:
- It stops the caulk from sinking. A deep gap filled with caulk alone sags before it cures, leaving a concave trough that cracks at the edges.
- It sets the joint shape. Caulk performs best when it bonds to two surfaces and stays thin in the middle, the classic "hourglass" cross-section. Backer rod forces that shape so the sealant stretches instead of tearing.
Reading the Label Before You Buy
Look for three things on the tube: "paintable," "non-shrinking," and a stated cure time. A caulk that lists a paint time under two hours lets you finish the job in one session. If the label doesn't say paintable, assume it isn't.
Step-by-Step: How to Fix Gaps in Crown Molding
The repair follows three stages: clean, fill small gaps with caulk, and rebuild large gaps with spackle or joint compound. Work in that order and let each stage dry before the next.
Step 1: Clean and Prepare the Surface
Wipe the gap and the surrounding trim with a damp rag. Dust, old paint flakes, and grease stop caulk from sticking.
Call 720-989-4123 for a free estimate →
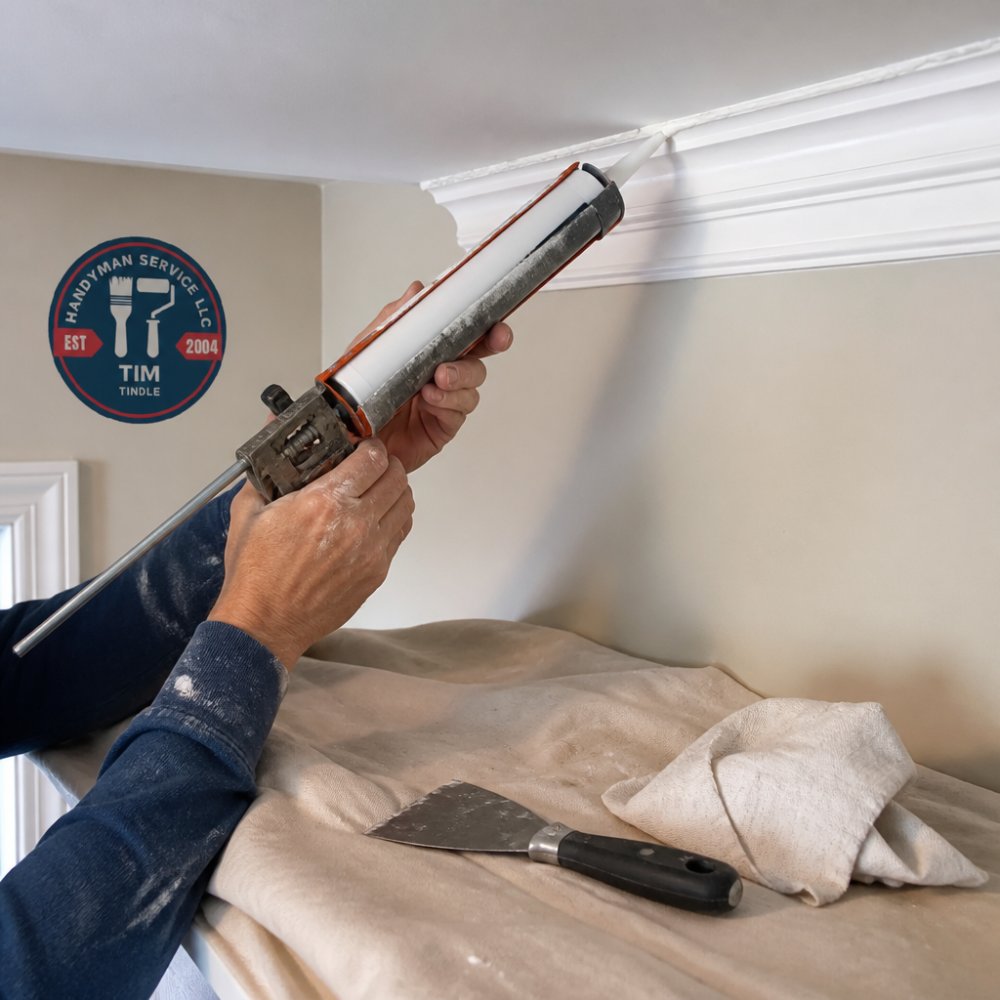
Step 2: Fill Small Gaps with Caulk
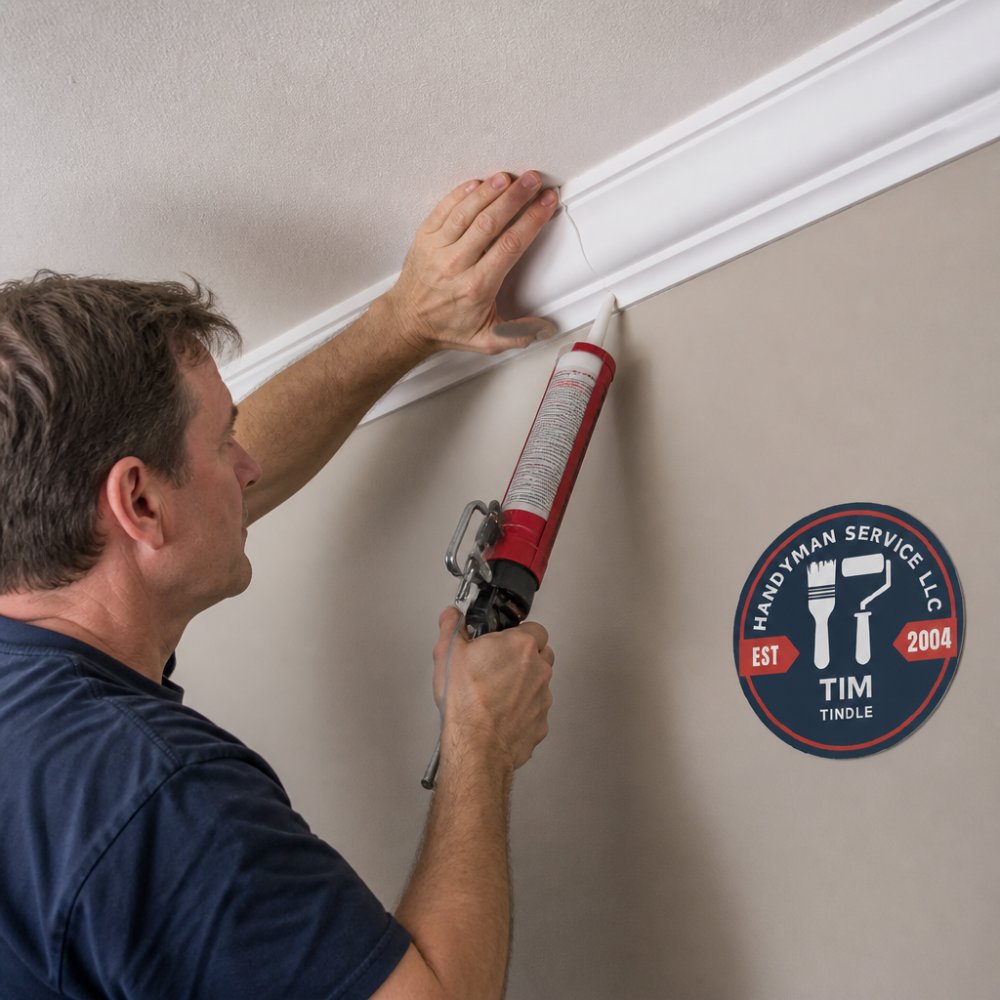
Load the caulking gun and cut the tip at a 45-degree angle. A small opening gives you more control.
Step 3: Repair Larger Gaps with Spackle or Joint Compound
For gaps wider than 1/4 inch, press backer rod into the opening first. Cut it slightly wider than the gap so it stays put.
How to Caulk Crown Molding Corners for a Clean Finish
Corner gaps need a different diagnosis before they need a different technique. The inside corner is where two pieces of crown meet, and how they were joined determines whether caulk will hold.
First, Identify the Joint Type
Crown molding inside corners are built one of two ways:
- Coped joint: One piece is cut with a profile that nests against the face of the other. This is the correct method for crown because it tolerates seasonal movement, the coped piece slides slightly against its neighbor instead of opening a gap.
- Mitered joint: Two pieces cut at 45 degrees and butted together. This is faster but far less forgiving. Any wall that isn't perfectly square (most aren't) leaves a gap that opens and closes with the seasons.
Diagnosing the Gap
Watch the corner for a few weeks. If the gap opens in winter and closes in summer, it's seasonal movement and caulk is appropriate. If it stays the same size year-round, or one side sits proud of the other, the cut was wrong, filler will crack out again.
Caulking the Corner
Once you've confirmed caulk is the right call:
- Clean the joint and let it dry. Old paint ridges and dust prevent adhesion.
- If the gap is deep, press a short piece of backer rod into the corner first so the caulk has a backing.
- Run a bead down one side of the joint, then the other. Smooth both with one continuous stroke through the corner so the line doesn't break, a single pass hides the seam better than two separate ones.
- Wipe the corner clean with a baby wipe while the caulk is still wet. Once it skins over, you'll be scraping it off instead.
When the Corner Needs More Than Caulk
If the molding is loose, cracked through, or the gap returns after a proper repair, the piece likely needs to be re-nailed into framing or replaced. A corner that has pulled away from the wall usually means the original nails missed the stud, driving a finish nail at an angle into solid framing and filling the hole is the fix.
Painting, Blending, and When to Call Professional Crown Molding Installation Services
Caulk and filler must be painted, and the paint is what actually makes the repair disappear. Unpainted caulk collects dust and yellows over time.
| Gap Type | Best Fix | Time to Dry |
|---|---|---|
| Hairline gap under 1/8 inch | Latex caulk | 1-2 hours |
| Gap 1/8 to 1/4 inch | Caulk over backer rod | 2-4 hours |
| Gap over 1/4 inch | Spackle or joint compound in layers | 24 hours per layer |
| Open miter joint at corner | Caulk, smoothed in one pass | 1-2 hours |
| Loose or cracked molding | Re-nail or replace | Call a pro |
Frequently Asked Questions
What is the best filler to use for gaps in crown molding?
For gaps under 1/8 inch, a paintable latex caulk works best because it flexes with seasonal wood movement. For larger gaps up to 1/4 inch, use lightweight spackle or joint compound, which won't shrink as much. If the gap is deeper than 1/4 inch, insert backer rod first to give the filler something to bond to and prevent sagging. Always choose a non-shrink, paintable product so it accepts touch-up paint cleanly.
Can I use caulk to fix large gaps in crown molding?
Caulk alone will sag, crack, or pull away in gaps wider than about 1/4 inch. For larger gaps, pack the opening with backer rod, then apply a thin layer of lightweight spackle or joint compound. Once dry, sand smooth and finish with a bead of paintable caulk along the edges. This layered approach keeps the repair stable through expansion and contraction.
Why does crown molding pull away from the ceiling?
The most common causes are seasonal wood movement, settling of the house, or installation that didn't account for expansion and contraction. In older homes, truss uplift can lift the ceiling slightly in winter, opening a gap at the top. If the gap returns every year, the fix is to use a flexible, paintable caulk rather than rigid filler so the joint moves with the structure instead of cracking.
How do I hide seams where two pieces of crown molding meet?
Start by checking whether the miter joint is tight. If it's slightly open, fill with lightweight spackle, let it dry, and sand with a fine sanding block. Wipe away dust, apply primer to the patch, then touch up with paint. For joints that keep opening, drive a finish nail on each side to pull the pieces together before filling. A thin bead of paintable caulk over the seam blends the repair into the surrounding trim.
Most crown molding gaps are a weekend fix, but the ones that keep returning usually point to a loose board or a bad original fit. Handyman Service Aurora is licensed and insured, serves Aurora, Foxfield, Parker, Centennial, and the wider Denver Metro area, and offers free estimates before any work begins. Call 720-989-4123 for a free estimate and get your trim looking finished again.