 how-to
Paint Over Glossy Finish Without Sanding: A How-To
Table of Contents
- Can You Paint Over a Glossy Finish Without Sanding?
- How to Prepare Glossy Surfaces for Painting
- Best Primer for Glossy Surfaces
- Painting Over Semi-Gloss Without Sanding
- Using a Deglosser for Paint Preparation
- Step-by-Step Application Process
- When Sanding Is Still Recommended
- Common Mistakes to Avoid
- Frequently Asked Questions
Last Updated: October 10, 2026
Can You Paint Over a Glossy Finish Without Sanding?
Yes, you can paint over glossy finish without sanding, but success depends on proper surface preparation. The key is using a bonding primer designed for slick surfaces and following a careful cleaning and preparation process. Skipping sanding entirely often leads to peeling paint within months.
A glossy or semi-gloss finish creates a smooth, slick surface that paint struggles to grip. Traditional wisdom says sand it down to expose raw material underneath. But modern bonding primers and deglosser products have changed the game. They chemically bond to gloss paint without requiring heavy sanding. The catch: you still need to clean, degrease, and sometimes lightly scuff the surface.
Here's what most DIY guides get wrong: they treat "no sanding" as a shortcut. It's not. It's a different approach that requires more attention to surface preparation, primer selection, and application technique. Skip the prep work, and you'll watch your fresh paint bubble and peel within weeks.
How to Prepare Glossy Surfaces for Painting
Surface preparation is where no-sand painting succeeds or fails. You cannot skip this step. A glossy finish repels water and paint alike, so your job is to break that seal and create a surface the primer can actually grip.
Clean and Degrease the Surface
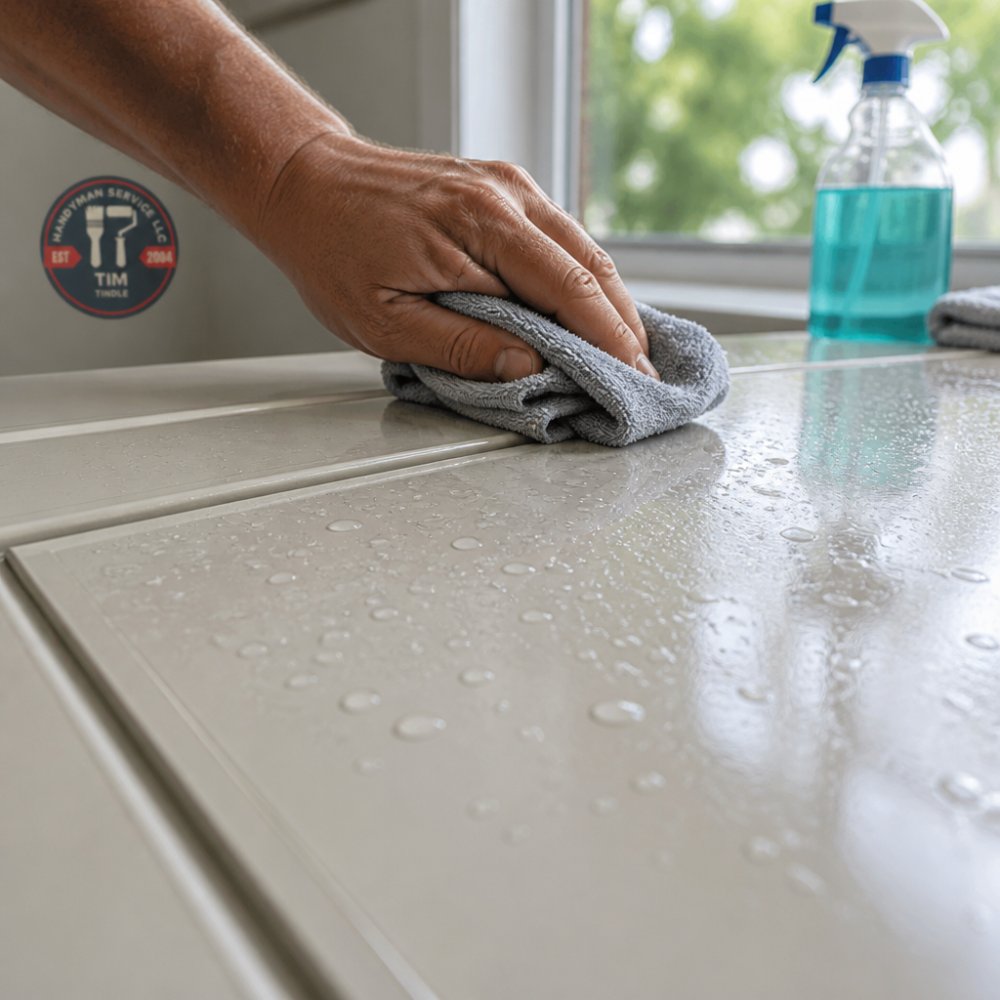
Start by washing the entire glossy surface with warm water and a degreasing cleaner. Use a cloth or soft-bristle brush to scrub away dust, dirt, and any buildup. Glossy surfaces collect grime that sits on top rather than being absorbed. That grime is your enemy.
After washing, rinse thoroughly with clean water. Let it dry completely, at least 2 hours in normal conditions. Moisture trapped under primer causes adhesion failure and bubbling.
For cabinets, furniture, or trim with stubborn grease or cooking residue, use a stronger degreaser. Dish soap works for light cleaning. For kitchen cabinets or heavily soiled surfaces, a commercial degreaser gives better results.
Drying time matters more than most people realize. Wet surfaces and primer do not bond well. If you're working in humid conditions, add extra drying time.
Repair Damage and Fill Gaps
Before priming, address any damage to the glossy surface. Fill small chips, gouges, or gaps with spackle or wood filler appropriate to your surface material. Sand these repairs smooth once dry, this is the only sanding most projects truly need.
For cabinets with loose hinges or damaged edges, tighten hardware or make repairs before painting. Painting over problems doesn't hide them; it locks them in place.
Best Primer for Glossy Surfaces
The right primer makes or breaks a no-sand painting project. Not all primers bond equally to glossy finishes.
Bonding primers (also called adhesion primers or super-grip primers) are formulated to stick to slick surfaces like gloss paint, laminate, and plastic. They contain special resins that chemically bond rather than simply coating the surface. For painting over glossy finishes without sanding, a bonding primer is your best tool.
Look for primers labeled for:
- Glossy surfaces
- Adhesion to slick finishes
- Bonding to existing paint
- Use on cabinets, trim, or furniture
Water-based bonding primers work well for latex topcoats. Oil-based primers offer stronger adhesion for some surfaces but require longer drying time and solvent cleanup. Choose based on your topcoat: if you're using latex paint, a water-based bonding primer is usually sufficient. If you're using oil-based paint, an oil-based primer provides better compatibility.
Apply primer according to manufacturer instructions. Most bonding primers dry in 2-4 hours but benefit from 8 hours before topcoat application. Check the label for recoat time.
Painting Over Semi-Gloss Without Sanding
Semi-gloss paint presents the same adhesion challenge as high-gloss finishes. It's slightly less slick than full gloss, but still creates a surface that resists paint bonding.
The preparation process is identical: clean, degrease, and dry thoroughly. Semi-gloss surfaces may require less aggressive degreasing than high-gloss, but don't skip this step. Use a bonding primer designed for glossy surfaces, apply it evenly, and allow proper drying time before topcoating.
Semi-gloss is common on trim, doors, and cabinets because it's durable and easy to clean. When repainting semi-gloss surfaces, the temptation to skip prep work is strong. Resist it. Proper preparation takes 2-3 hours but prevents costly failures later.
Using a Deglosser for Paint Preparation
A deglosser (also called liquid sandpaper) is a chemical product that etches the glossy surface without physical sanding. It breaks down the gloss finish and opens the surface to paint adhesion.
How it works: Apply deglosser according to product instructions, usually with a cloth or brush. It chemically dulls the gloss finish, creating a slightly rougher surface texture. This texture helps primer and paint grip better than a smooth gloss would.
When to use it: Deglosser is most effective on surfaces you cannot easily sand, like intricate trim work or delicate furniture. It's also useful when you want to avoid the dust and mess of sanding.
Limitations: Deglosser works best on surfaces already in good condition. If the gloss paint is peeling, flaking, or heavily damaged, deglosser alone won't solve the problem, you'll need to address the underlying issues first.
Application is straightforward:
- Clean the surface first
- Apply deglosser with a cloth or brush
- Follow the product's dwell time (usually 10-20 minutes)
- Wipe clean with a fresh cloth
- Allow to dry per instructions before priming
Deglosser is not a replacement for cleaning and degreasing. Use it as part of your prep sequence, not instead of it.
Step-by-Step Application Process
Apply Primer Evenly
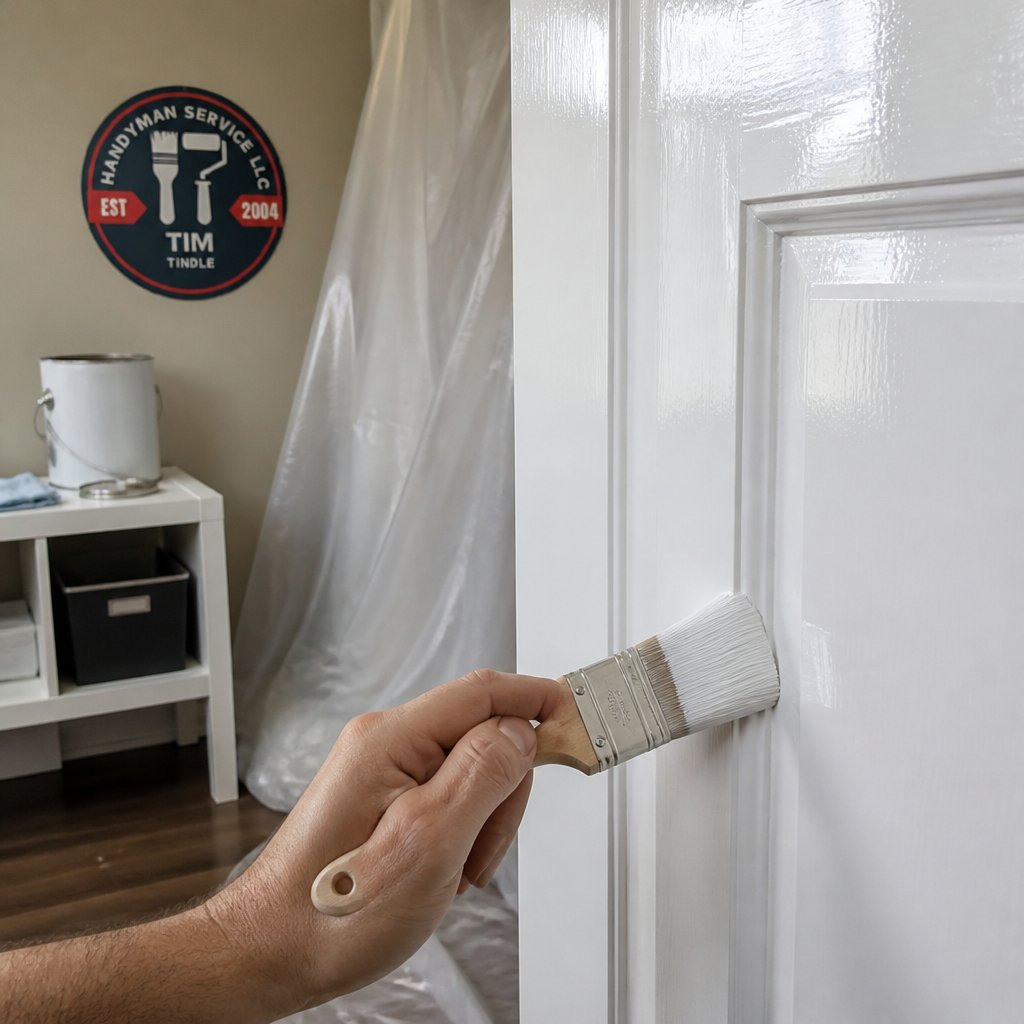
Pour bonding primer into a clean paint tray. Use a quality brush or roller appropriate to your surface. For cabinets and trim, a brush gives better control when you paint over glossy finish. For larger flat surfaces, a roller speeds up application.
Call 720-989-4123 for a free estimate →
Apply primer in thin, even coats. Thick applications don't dry properly and can sag or bubble. One coat of quality bonding primer is often sufficient, but check the product label. Some primers recommend two coats for maximum adhesion.
Work in sections. Apply primer to one cabinet face, one wall section, or one trim piece at a time. This prevents lap marks and ensures even coverage.
Allow primer to dry fully before applying topcoat. Even if the primer feels dry to the touch, wait the full recoat time listed on the label. Rushing this step invites adhesion failure.
Test Adhesion Before Full Coverage
Before committing to the entire project, test your primer-to-gloss adhesion on a small, inconspicuous area. Apply primer to a small spot, let it dry, then apply topcoat paint. Wait 24 hours.
Use the tape test: apply painter's tape to the painted area, then pull it off quickly. If the paint comes off with the tape, your adhesion is poor. If the paint stays put, you've got good bonding.
This simple test prevents disaster. It confirms your surface prep, primer choice, and technique will work before you commit to painting an entire cabinet or wall.
Apply Topcoats and Allow Proper Drying Time
Once primer is dry and adhesion is confirmed, apply topcoat paint. Use quality paint appropriate to your surface, latex for most interior trim and cabinets, oil-based for high-wear areas.
Apply topcoat in thin, even coats. Two coats are standard. Allow full drying time between coats per the paint manufacturer's instructions, usually 4-8 hours for latex, longer for oil-based.
Full cure takes longer than drying. Paint may feel dry after 24 hours but continues hardening for 7-14 days. Avoid heavy use or cleaning of freshly painted surfaces during this cure period.
Proper drying time prevents:
- Sticky or tacky surfaces
- Paint that scuffs easily
- Poor color uniformity
- Weak adhesion to primer
Patience here pays off. Rushing topcoat application or recoating too soon undermines all your prep work.
When Sanding Is Still Recommended
Skipping sanding works in many situations, but not all. Sanding is still recommended when:
- Paint is peeling or flaking: If existing paint is already failing, bonding primer alone won't save it. Remove loose paint by scraping or sanding, then prime and paint.
- Surface is heavily damaged: Deep gouges, dents, or rough spots need sanding to smooth them properly.
- Previous paint job was poor: If you're painting over a failed paint job (bubbling, alligatoring, or severe wear), light sanding helps remove the worst damage and improves adhesion.
- Surface has glossy areas mixed with flat: Inconsistent finishes benefit from light sanding to create uniform texture.
- You're switching paint types: Moving from oil-based to latex (or vice versa) sometimes benefits from light sanding to improve compatibility.
Light sanding with 120-150 grit sandpaper takes 30-60 minutes and significantly improves adhesion. It's not a major undertaking, and it prevents costly failures. If you're uncertain whether your surface needs it, sand lightly. The risk of skipping it outweighs the time saved.
Common Mistakes to Avoid
Skipping degreasing: This is the most common failure point. Glossy surfaces trap grease and grime. Primer cannot bond through buildup. Spend the time cleaning properly.
Using the wrong primer: Regular primer does not bond to glossy finishes. Bonding primer is essential. Check the label to confirm it's designed for glossy surfaces.
Applying primer too thick: Thick primer coats trap moisture and fail to dry properly. Multiple thin coats work better than one thick coat.
Rushing drying time: Primer and paint need time to cure. Applying topcoat before primer is fully dry causes adhesion failure and bubbling. Follow manufacturer drying times exactly.
Ignoring surface condition: If paint is already peeling or flaking, no-sand methods won't work. Address underlying problems first.
Using incompatible topcoat: Water-based primer works best with latex topcoat. Oil-based primer works best with oil-based topcoat. Mixing types sometimes causes adhesion issues.
Skipping the adhesion test: Testing on a small area takes 24 hours but prevents project failure. Always test before committing to the full project.
Painting over a glossy finish without sanding is achievable when you use the right materials and follow proper preparation steps.
If your glossy surfaces need professional attention, our team can handle the entire project from preparation through final topcoat.
| Preparation Step | Time Required | Why It Matters |
|---|---|---|
| Clean and degrease | 1-2 hours | Removes grime that prevents adhesion |
| Dry completely | 2-8 hours | Moisture causes bubbling and peeling |
| Repair damage | 30-60 minutes | Fixes problems before they're sealed in |
| Apply deglosser (optional) | 30 minutes | Chemically opens glossy surface |
| Prime | 1-2 hours | Creates bonding layer for topcoat |
| Test adhesion | 24 hours | Confirms method works before full project |
| Apply topcoat | 2-3 hours per coat | Final protective layer |
Frequently Asked Questions
What happens if you paint over gloss without sanding?
Paint may peel, chip, or flake if applied directly to a glossy finish without proper preparation. The slick surface prevents paint adhesion. Using a bonding primer and cleaning the surface thoroughly reduces this risk, but adhesion failure can still occur on heavily glossed surfaces or if the paint and primer are incompatible. Testing adhesion on a small area first helps confirm the approach will work.
Do you need a special primer to paint over glossy surfaces?
Yes, a bonding or adhesion primer is strongly recommended for glossy surfaces. These primers are formulated to grip slick finishes better than standard primers. Water-based bonding primers work well on latex paint, while oil-based primers bond effectively to oil-based glossy coatings. Matching the primer type to your existing finish and topcoat improves durability and prevents peeling.
When is sanding still necessary for painting over a glossy finish?
Sanding is essential if the glossy surface is heavily worn, flaking, or chipped; if the existing paint is oil-based and you're applying water-based topcoat; or if adhesion testing fails. For smooth, well-maintained glossy finishes on cabinets or trim, light sanding or deglossing may be optional if you use a bonding primer and proper surface cleaning. When in doubt, light sanding provides the most reliable outcome.
Can you paint gloss directly over gloss?
Yes, you can paint gloss over gloss if you prepare the surface properly. Clean and degrease the existing gloss thoroughly, use a bonding primer designed for glossy surfaces, and ensure paint compatibility between the old and new coatings. Skipping these steps risks poor adhesion. For semi-gloss finishes, the same preparation applies, though a deglosser or light sanding improves results significantly.