 how-to
Best Time to Caulk Exterior Siding: A Seasonal Guide
Table of Contents
- Best Time of Year to Caulk Exterior Siding
- Best Temperature to Caulk Outside
- When Not to Caulk Outside
- Should You Caulk Exterior Siding
- Preparing Your Siding Before Caulking
- How Long Does Exterior Caulk Take to Dry
- Key Locations for Exterior Caulking
- Conclusion
- Frequently Asked Questions
Last Updated: October 14, 2026
Best Time of Year to Caulk Exterior Siding
The best time to caulk exterior siding is during mild spring or fall weather, when exterior caulk timing is critical to success. At Handyman Service Aurora, we recommend planning your project when temperatures stay between 45 and 85 degrees Fahrenheit for at least 24 to 48 hours after application.
Spring and fall provide the sweet spot for exterior caulk timing: moderate temperatures, manageable humidity, and predictable rain forecasts. Summer heat cures caulk too quickly, creating weak seams, while winter cold slows curing and traps moisture. Spring repairs winter damage; fall seals gaps before harsh weather.
Exact timing depends on your climate. Warmer regions favor early spring or late fall; cooler areas favor late spring through early summer. Check your local forecast before starting.
Best Temperature to Caulk Outside
The ideal outdoor temperature for exterior caulk is 45 to 85 degrees Fahrenheit. Too cold and the caulk won't bond; too hot and it dries too fast and shrinks, leaving gaps.
Temperature affects how exterior caulk behaves in three ways:
- Application: Caulk flows smoothly and spreads evenly between 50 and 75 degrees
- Adhesion: The sealant bonds properly to wood, trim, and other surfaces in moderate temps
- Curing: The material hardens at the right pace, creating a flexible, durable seal
Surface temperature matters as much as air temperature: a shaded wall can be 10 degrees cooler than the air, while direct sun makes siding much warmer. Check the actual surface, not just the thermometer.
Most exterior caulk products list their temperature range on the label. Premium sealants may work from 35 to 90 degrees; budget products have tighter limits.
When Not to Caulk Outside
Avoiding rain, cold, and extreme heat is correct but not actionable. What you need is a go/no-go check you can run the night before. Use the checklist below.
The five-point go/no-go check
- Air temperature at application time. Confirm the forecast low for the next 24 hours stays above your caulk label's minimum, usually 40 to 45 degrees Fahrenheit, though some high-performance products go to 35. If the overnight low dips below that, postpone.
- Surface temperature, not air temperature. A sunlit wall can read 20 to 30 degrees warmer than the air; a shaded north wall 10 degrees cooler. Point an infrared thermometer at the joint. If it's above roughly 90 degrees or below the label minimum, wait for a different time of day.
- Rain-free window. Look for at least 24 hours with no rain after application, and 48 hours is safer for slow-curing sealants. Check the hourly forecast, not just the daily icon, a morning shower two days out still counts.
- Humidity and dew point. High humidity slows cure and traps moisture under the bead. If the dew point is within a few degrees of the air temperature, overnight condensation will prevent adhesion. Very low humidity can skin the surface while the interior stays soft.
- Wind. Sustained wind above roughly 15 mph dries the surface too fast, blows debris into the wet bead, and makes a smooth tooled finish nearly impossible.
Situations that should always stop you
- Falling temperatures. If you apply at 55 degrees in the morning and the overnight low is 35, curing stalls. The bead may look fine and fail within a season.
- Wet or damp siding. Wait at least 24 hours after rain, longer for wood siding. Moisture at the bond line is the most common cause of premature caulk failure.
- Freshly pressure-washed siding. Give it 48 to 72 hours to dry, especially at lap joints and end grain.
- Below-freezing nights in the forecast. Even if the daytime high is comfortable, a hard freeze during the cure window can crack a partially cured bead.
A note on shoulder seasons
Spring and fall are recommended because they make this checklist easy to pass, not because the calendar matters. A mild, dry week in late February can beat a rainy week in April. Judge conditions, not the month.
Should You Caulk Exterior Siding
Yes, but the answer depends on your siding material, because each moves differently, drains differently, and has different rules about where caulk belongs. Getting this wrong traps moisture behind the wall and creates the rot you were trying to prevent.
Wood siding
Wood expands and contracts with humidity and temperature swings, so it needs the most frequent caulking. Seal butt joints, gaps where trim meets siding, and around window and door frames.
Vinyl siding
Vinyl moves more than wood in many cases and is designed to float on its nailing.
Fiber cement siding
Fiber cement is dimensionally stable, moves less than wood or vinyl, and holds caulk well. It still needs caulking at butt joints, trim transitions, and penetrations. Caulk after painting, not before, using a paintable sealant.
Metal siding
Metal expands and contracts the most of any common siding and reaches the highest surface temperatures in direct sun.
Where caulk does not belong, regardless of material
- Lap joints on lap siding. These overlaps shed water. Sealing them traps it.
- Weep holes and weep paths. Weep holes at the base of windows, doors, and some siding systems exist to let water escape. Caulking them defeats the purpose.
- The bottom edge of any siding panel. Water needs a way out.
- Drainage gaps at flashing. Step flashing and kick-out flashing rely on open paths to direct water away from the wall.
A quick decision rule
If a joint faces upward and collects water, it usually needs caulk. If it faces downward or is part of a drainage path, it usually stays open. When in doubt, check the manufacturer's installation instructions, they specify which joints seal and which drain.
Preparing Your Siding Before Caulking
Preparation determines whether your caulk job lasts five years or fifteen. Clean the gap thoroughly: remove old caulk, dirt, debris, and loose paint with a putty knife, or a caulk removal tool or heat gun for stubborn residue.
Scrub with a wire brush, wipe with a damp cloth, and let it dry completely, moisture prevents adhesion.
Call 720-989-4123 for a free estimate →
For gaps wider than a quarter inch, insert backer rod first. This foam cord fills the space and prevents caulk from sinking too deep. Backer rod also helps the caulk cure properly by controlling depth.
Inspect for damage. Rotted or soft wood needs repair or replacement first, caulk seals gaps, it doesn't fix structural problems.
Scrape loose paint and sand rough areas lightly, flaking finishes prevent good adhesion.
Consider using a primer or bonding agent if the surface is porous or glossy. Some exterior caulks bond better with a primer coat. Check your caulk product instructions.
Mask off areas with painter's tape if you want clean lines. Tape on either side of the gap helps you apply a neat bead. Remove tape immediately after caulking, while the material is still wet.
How Long Does Exterior Caulk Take to Dry
Most exterior caulk takes 24 to 48 hours to cure fully, though it may feel dry in 3 to 8 hours. Exact time depends on caulk type, temperature, humidity, and gap depth.
Latex and acrylic caulks typically cure faster than silicone or polyurethane products. Latex caulk may feel dry in 3 to 6 hours but needs 24 hours for a water-tight seal. Silicone caulk can take 24 to 48 hours or longer.
Temperature affects curing speed significantly:
- At 70 degrees: most caulk reaches handling strength in 6 to 12 hours
- At 50 degrees: curing slows dramatically, often taking 24 to 36 hours
- At 85 degrees: some caulks cure in 3 to 6 hours, but may cure unevenly
High humidity slows drying; low humidity speeds it up. Deep caulk also takes longer to cure than a thin bead.
Don't assume caulk is cured because the surface feels dry, the interior may still be soft. Keep newly caulked joints away from water for at least 24 hours, including rain and sprinklers.
Check your specific caulk product label for exact curing times. Premium products often cure faster than budget options. Some specialty exterior caulks are designed for quick curing in cool weather.
Key Locations for Exterior Caulking
Focus on the joints most vulnerable to water intrusion, where water naturally flows or pools during rain.
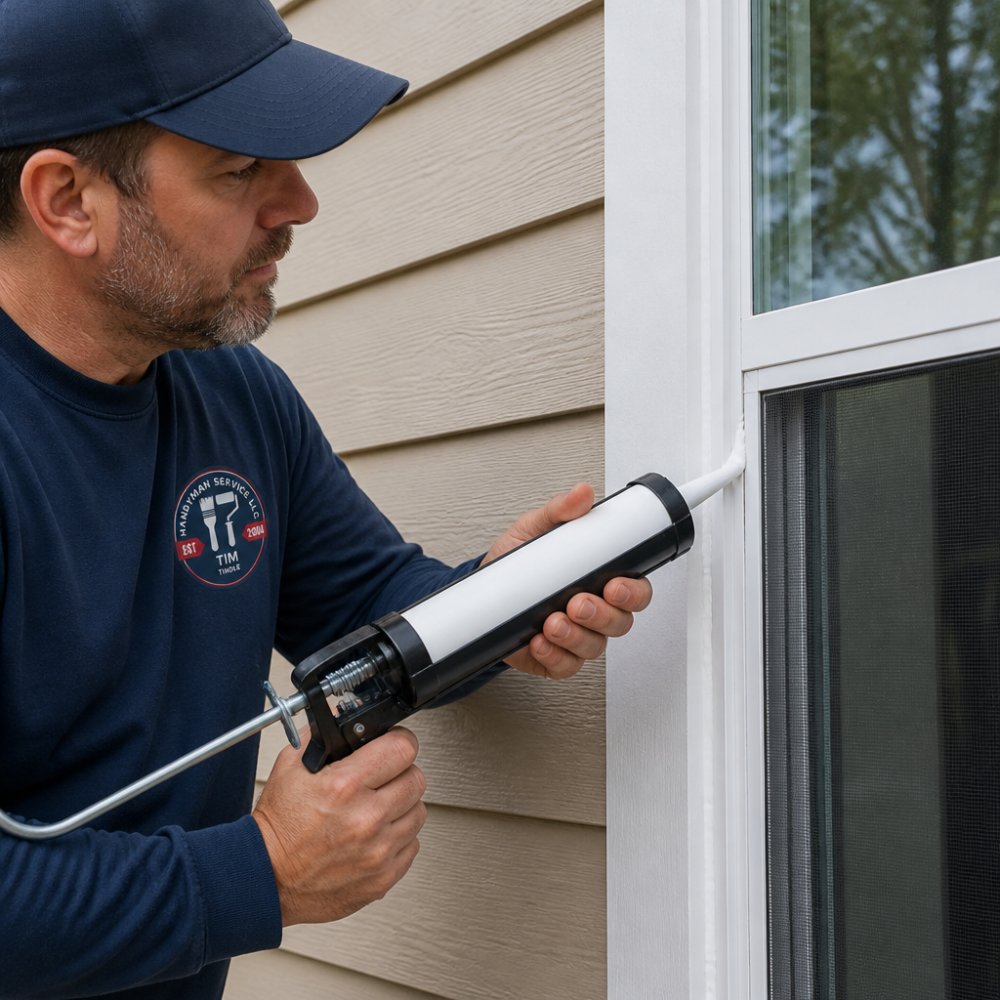
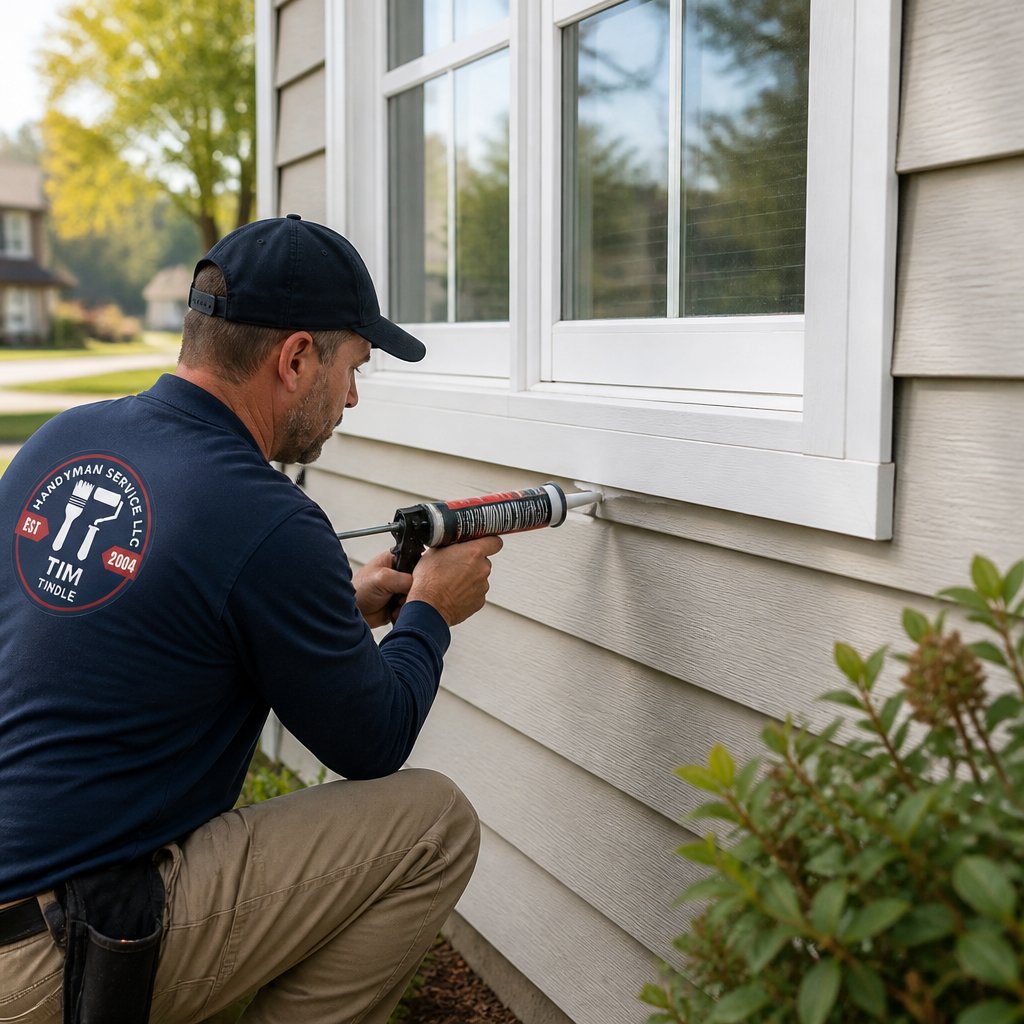
Around windows and doors: Caulk the gap between frame and siding on all four sides. Water collects around these openings, making this the top priority.
Where siding boards meet: Lap siding creates overlaps that shed water downward.
Trim boards and corners: Caulk where trim meets siding. This includes corner boards, fascia boards, and any horizontal trim that might trap water.
Gaps in wood siding: Caulk splits, checks, and separation in the wood itself, these let water directly into the wall cavity.
Flashing and penetrations: Where pipes, vents, or wires penetrate the siding, caulk the gaps around the flashing. These are common leak points.
Expansion joints: Some siding has intentional expansion gaps. These should be caulked to prevent water entry while still allowing slight movement.
Don't over-caulk. Tight, solid joints don't need caulk; over-application wastes material and traps moisture.
Proper caulking locations depend on your siding type, wood needs more frequent caulking than vinyl or fiber cement because it expands and contracts more.
Conclusion
The best time to caulk exterior siding is spring or fall, when temperatures stay between 45 and 85 degrees Fahrenheit and rain isn't forecast for at least 48 hours. Proper timing, preparation, and product selection make the difference between a seal that lasts five years and one that lasts fifteen.
Water intrusion is the enemy of your home's exterior. Small gaps become big problems fast. If you're uncertain about which areas need caulking or how to prepare surfaces properly, the licensed professionals at Handyman Service Aurora can handle the job from start to finish. We'll identify vulnerable joints, use the right exterior caulk for your siding material, and ensure proper application and curing. Call 720-989-4123 for a free estimate and let us protect your home with expert exterior caulking.
Frequently Asked Questions
When is it too cold to caulk exterior siding?
Most exterior caulks require temperatures of at least 45 degrees Fahrenheit during application and for 24-48 hours afterward to cure properly. Colder temperatures slow adhesion and prevent the sealant from bonding to wood siding, trim, and joints. Check your specific product instructions, as some formulations have higher minimum thresholds. Avoid caulking when temperatures are expected to drop below 40 degrees within 48 hours.
Can you caulk exterior siding in winter?
Winter caulking is possible but challenging in most climates. If outdoor temperatures stay consistently above 45 degrees Fahrenheit during the day and night, you can proceed. However, winter brings shorter daylight hours, higher humidity, and frequent rain or snow, all of which interfere with drying and adhesion. Spring and fall offer more reliable conditions. If winter repairs are urgent, choose a protected south-facing wall and monitor the forecast closely for a multi-day dry window.
How long does exterior caulk need to dry before rain?
Most exterior caulks require 24-48 hours of dry weather before rain exposure. During this window, the sealant forms a skin and begins curing, but it's not fully weatherproof. Check your product's specific cure time, as latex caulk and siliconized acrylic formulations vary. Plan caulking projects when the forecast shows at least 3 days of dry weather to account for humidity, temperature, and surface conditions. Premature rain can wash away uncured caulk or trap moisture, reducing flexibility and water resistance.
Should you caulk exterior siding every year?
Exterior caulk typically lasts 5-10 years depending on climate, siding material, and sun exposure. Rather than recaulking annually, inspect your siding, trim, windows, and doors each spring and fall for cracks, gaps, or separation. Recaulk only where you find deterioration or new gaps caused by temperature fluctuations and expansion. Annual inspection catches problems early, prevents water intrusion, and extends the life of your wood siding and trim.