 blog
Essential Tools for Residential Carpentry Projects: What to Buy First
Last Updated: November 5, 2026
Quick Summary
The essential tools for residential carpentry projects start with a 25-foot tape measure, 16 oz claw hammer, combination square, cordless drill/driver with two batteries, circular saw with a sharp 24-tooth blade, chisel set, two 24-inch bar clamps, and safety glasses and hearing protection. Buy these before your first project, then add tools as projects demand them.
- Buy in three tiers: starter tools first, then chisels, clamps and levels, then miter saw and nailer.
- A 7-1/4 inch circular saw with a sharp 24-tooth blade matters more than the saw's price.
- Pick one battery platform before your second tool purchase to avoid replacing every battery later.
- Take gloves off for spinning tools like table saws, since gloves can catch and pull a hand in.
- Check a dropped tape measure's hook against a ruler, as a bent hook throws off inside measurements.
Table of Contents
- Why the Right Carpentry Tools Decide How a Project Goes
- Basic Carpentry Tools for Beginners: The Starter Kit
- Carpentry Measuring Tools: Accuracy Before Anything Else
- Saws and Cutting Tools: Hand Saws, Circular Saws, Jigsaws and Miter Saws
- Drills, Drivers and Fastening Tools for Wood
- Power Tools for Home Projects: What Is Worth Buying
- Chisels, Planes, Clamps and Workholding
- Carpentry Safety Equipment and Safe Tool Use
- Frequently Asked Questions
Why the Right Carpentry Tools Decide How a Project Goes
Most residential carpentry projects don't fail because of bad skill. They fail because the essential tools for residential carpentry projects aren't there at the right moment.
The homeowners who finish cleanly aren't the ones with the biggest tool collections, they bought the right essential tools for residential carpentry projects before starting.
Most beginner lists treat every tool as equally urgent. They're not: a tape measure and drill driver cover a large share of early projects.
Basic Carpentry Tools for Beginners: The Starter Kit
Here's a practical starter kit for a first-time DIYer:
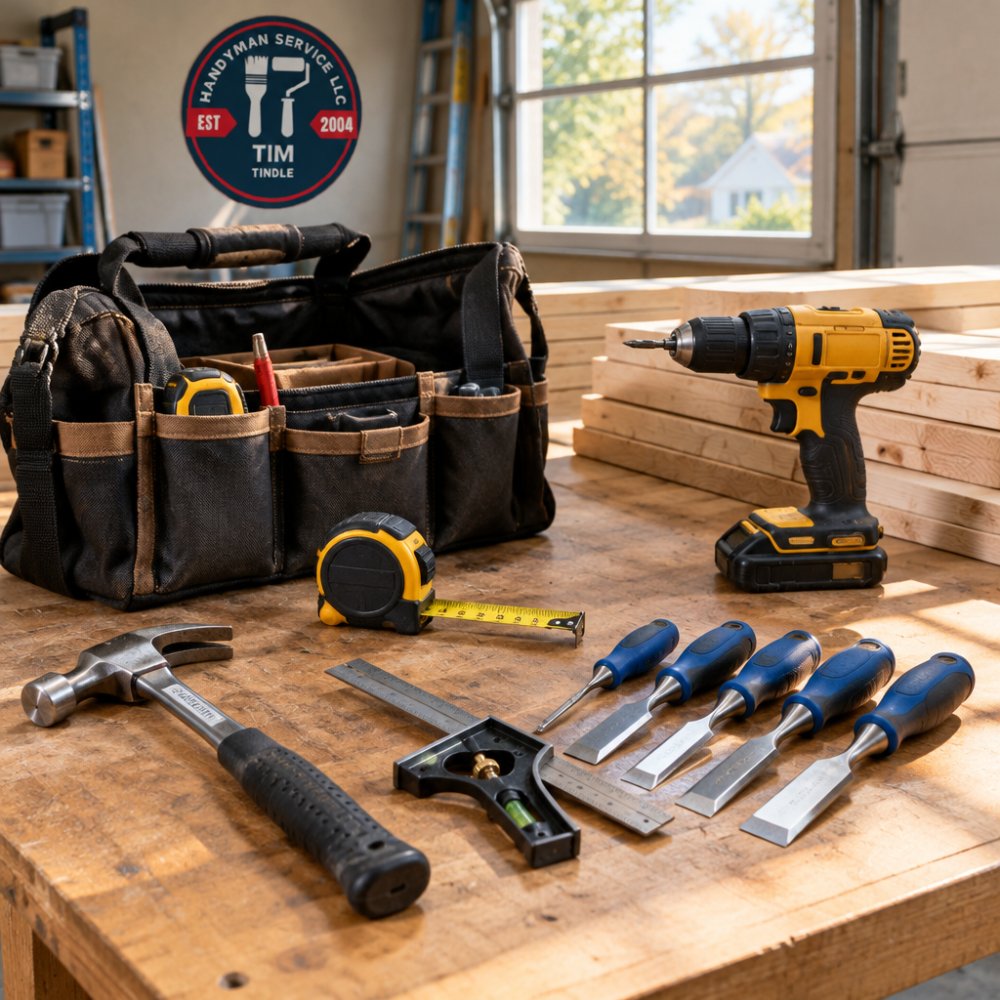
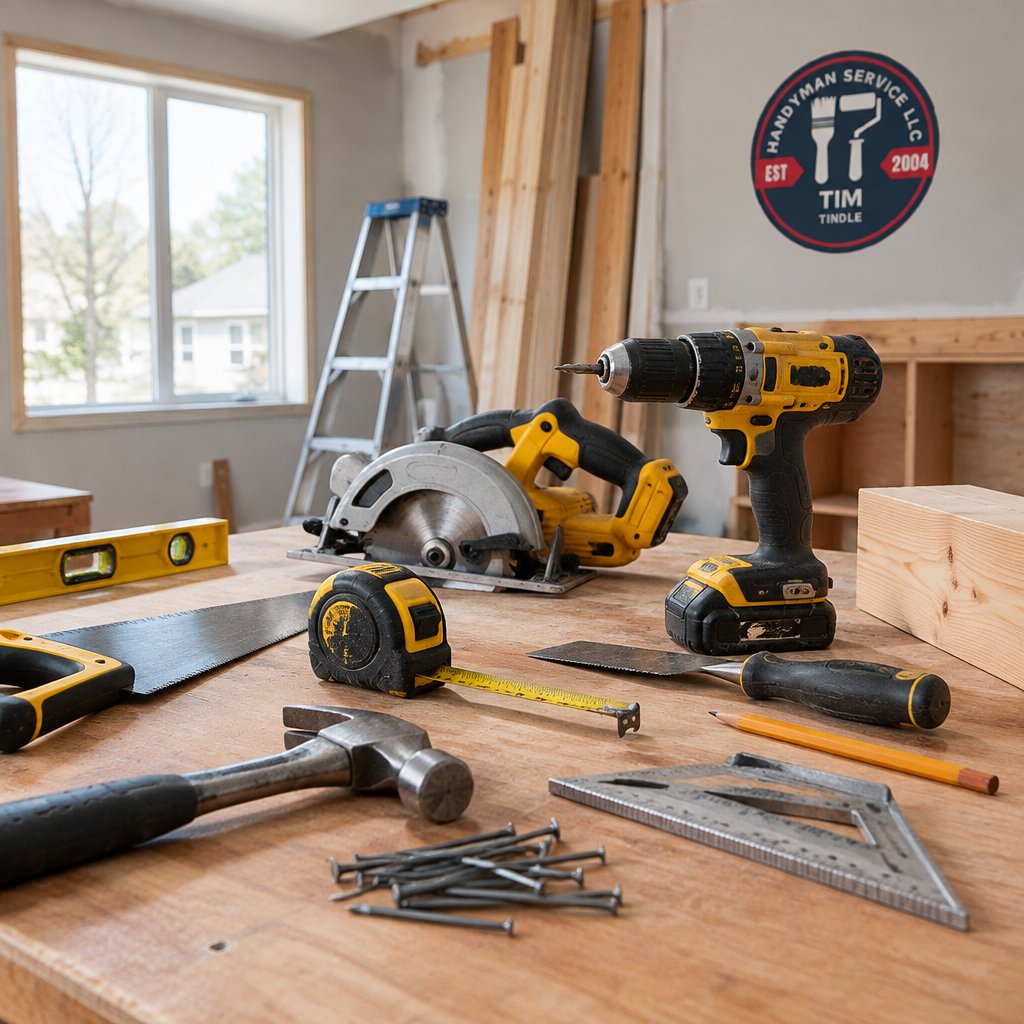
- 25-foot tape measure with a locking blade and a stiff standout
- 16 oz claw hammer with a smooth face and a straight claw for prying
- Combination square for 90 and 45 degree marks
- Cordless drill/driver with two batteries and a bit set
- Circular saw with a sharp 24-tooth framing blade
That list handles shelf building, trim repair, and basic framing. Add tools as projects demand them.
A common mistake is buying a 200-piece set and assuming you're covered.
Map the kit to the job, not the catalog. Residential carpentry is a handful of repeatable tasks, each pulling a specific subset of tools. Organize first purchases around the jobs you actually plan to do:
- Framing a wall: tape measure, speed square, circular saw, 16 oz hammer, 4-foot level, framing nails or a framing nailer
- Installing trim: miter saw, coping or fine-tooth hand saw, 15- or 16-gauge finish nailer, combination square, sliding bevel, two bar clamps, wood filler
- Hanging a door: 4-foot level, chisels, drill/driver, block plane, shims, 2-foot level, screwdriver set
- Building shelves: tape measure, circular saw or jigsaw, drill/driver, combination square, 24-inch level, bar clamps, sanding block
If you only plan one of those jobs, buy for it first and let the rest wait.
Buy in priority tiers, not all at once. A three-tier approach keeps spending sane:
- Tier one (buy before the first project): tape measure, combination square, 16 oz hammer, drill/driver with two batteries, circular saw, safety glasses, hearing protection. This tier covers measuring, cutting, and fastening on nearly every job.
- Tier two (buy when the project calls for it): chisel set, bar clamps, 24-inch level, jigsaw, random orbital sander, speed square. These unlock trim, curves, and finishing work.
- Tier three (buy when volume justifies it): miter saw, finish nailer, 4-foot level, block plane, router.
Specifications that separate a keeper from a return. A few numbers matter more than brand:
- Tape measure: 25-foot blade with at least 7 feet of standout; check the hook against a ruler after any drop.
- Circular saw: 7-1/4 inch blade, 15 amp corded or 18V+ cordless; a sharp 24-tooth blade matters more than the saw's price.
- Drill/driver: 18V or 20V platform, two batteries, clutch settings, and a 1/2-inch chuck.
- Chisels: 1/4, 1/2, and 3/4 inch covers hinge mortises and paring; buy ones you can sharpen.
- Clamps: two 24-inch bar clamps minimum; add 36-inch clamps for door and shelf glue-ups.
Buying used is reasonable for hand tools, clamps, and levels, where condition is easy to inspect.
If the tool list starts to feel like more than you want to take on, that's a fair signal. You can review the professional carpentry services available and compare that against doing it yourself.
Carpentry Measuring Tools: Accuracy Before Anything Else
Accuracy starts at the tape measure, not the saw. If your marks are wrong, every cut after is wrong too.
Carpentry measuring tools are the foundation of every project.
- Tape measure: 25-foot blade with at least 7 feet of stiff standout; the blade should lock firmly and retract smoothly.
- Combination square: The head should slide without wobble; check it against a known straight edge.
- Speed square: A basic aluminum 7-inch model is enough and doubles as a saw guide for crosscuts.
- Spirit level: A 24-inch level covers most trim and shelf work; a 4-foot level helps with walls and doors.
- Sliding bevel square: For copying odd angles during trim work.
Watch out: a dropped tape measure can bend the hook and throw off every inside measurement by a fraction.
The National Institute of Standards and Technology guide to measuring devices explains how measurement error compounds across a project.
Saws and Cutting Tools: Hand Saws, Circular Saws, Jigsaws and Miter Saws
Match the saw to the cut.
Circular saw: The workhorse. A 7-1/4 inch circular saw with a sharp blade cuts framing lumber, plywood, and shelving.
Jigsaw: For curves, cutouts, and sink openings. Use a down-cutting blade to reduce splintering on finished faces.
Miter saw: For repeatable angled cuts on trim and molding.
If trim and crown molding are on your list, the saw choice gets more specific. This guide to tools for cutting crown molding in tight corners goes deeper on that job.
A common mistake is forcing a circular saw through thick stock with a dull blade. That's how kickback happens.
Drills, Drivers and Fastening Tools for Wood
Two tools cover almost all fastening: a drill/driver and an impact driver. They look similar and do different jobs.
Call 720-989-4123 for a free estimate →
A drill/driver spins at variable speed for drilling holes and driving screws.
- Drill/driver: Pilot holes, hole saws, driving screws into softwood
- Impact driver: Long deck screws, lag bolts, repeated driving
- Nail gun: Finish nails for trim, if you'll do trim work at volume
- Screwgun: Drywall and repeated screw driving, a niche tool most homeowners can skip
Buy bits and drivers as a set and replace them when they strip. A worn Phillips bit ruins screw heads fast.
For homeowners weighing tool purchases against hiring out, it helps to know how long custom carpentry projects typically take before deciding which way to go.
Power Tools for Home Projects: What Is Worth Buying
Buy power tools in order of how often you'll use them, not by what looks impressive on a shelf. A practical buy-first order:
- Cordless drill/driver, used on nearly every project
- Circular saw, the primary cutting tool
- Random orbital sander, finishing and prep work
- Jigsaw, curves and cutouts
- Miter saw, trim and repeatable angles
- Angle grinder, metal and masonry, rarely needed for wood
| Tool | Typical Use | Buy First? | Notes |
|---|---|---|---|
| Drill/driver | Holes and screws | Yes | Two batteries minimum |
| Circular saw | Straight cuts | Yes | Sharp blade matters most |
| Orbital sander | Finishing | Yes | Dust port saves cleanup |
| Jigsaw | Curves, cutouts | Second wave | Down-cut blade for clean faces |
| Miter saw | Trim angles | Second wave | Compound model covers more |
| Angle grinder | Metal, masonry | Only if needed | Not a wood tool |
Selection criteria that actually change the outcome. Most buyers compare brand names when they should compare specifications. These numbers and features matter for residential work:
- Circular saw: 7-1/4 inch blade, 15 amp corded or 18V+ cordless, bevel capacity to 45 degrees, and a blade brake if you can get it. A sharp 24-tooth blade on a modest saw outperforms a dull blade on an expensive one.
- Drill/driver: 18V or 20V platform, 1/2-inch chuck, clutch settings, two-speed gearbox, and at least two batteries. Compare torque within a platform rather than across marketing claims.
- Miter saw: 10-inch compound covers most trim; 12-inch sliding models handle wider stock and deeper cuts. Check the bevel and miter detents for play before buying.
- Jigsaw: Variable speed, tool-free blade change, and a bevel base. Orbital action speeds rough cuts; straight action gives cleaner edges.
- Random orbital sander: 5-inch hook-and-loop pad, dust port that fits a shop vac, and variable speed. A sander without dust collection fills a room with fines.
Budget tiers and what they buy. Pricing varies widely by brand and retailer.
Watch out: cordless platforms lock you in. Once you own batteries for one brand, switching gets expensive.
Maintenance that keeps power tools alive. Blow dust out of motor vents after sanding and cutting, replace blades when cuts start burning, store batteries at room temperature away from full discharge, and check cords for nicks before each use.
Chisels, Planes, Clamps and Workholding
Clamps are the most underrated tools in residential carpentry. A joint that isn't held still won't glue straight.
Chisels: A basic set of 1/4, 1/2, and 3/4 inch chisels handles hinge mortises, cleanup cuts, and paring. Keep them sharp. A dull chisel is more dangerous than a sharp one because it slips.
Hand plane: A block plane trims door edges and eases corners. A No. 4 smoother handles larger surfacing work.
Clamps: Buy more than you think you need. Bar clamps, spring clamps, and a vise each solve different problems.
- Bar clamps: Glue-ups and assembly
- Spring clamps: Light holding and temporary fixes
- Vise: Sharpening and small work holding
- Workbench: A stable surface is a tool in itself
Trim work punishes poor clamping more than any other job. These tips on preventing crown molding gaps during installation show why clamping and dry-fitting matter before the adhesive goes on.
Carpentry Safety Equipment and Safe Tool Use
Safety gear isn't optional equipment. It's part of the tool kit.
Carpentry safety equipment covers eyes, ears, lungs, and hands. The basics:
- Safety glasses worn any time a tool is running
- Hearing protection for saws and routers
- Dust mask rated N95 for sanding and cutting
- Work gloves for handling lumber, not for running saws
- Sturdy boots with slip-resistant soles
The Occupational Safety and Health Administration guidance on hand and power tools lays out the core rules: guard saws, disconnect power before changing blades, and keep loose clothing away from moving parts.
A common mistake is wearing gloves while using a table saw or drill press.
Check your gear before each session. Cracked safety glasses and frayed cords are cheap to replace and expensive to ignore.
If a project moves past your comfort or safety level, that's not failure. You can contact a licensed and insured team for help rather than push through a risky cut.
Residential carpentry rewards preparation more than strength or speed.
Handyman Service Aurora provides licensed and insured carpentry, remodeling, and repair work across Aurora and the Denver Metro area.
Frequently Asked Questions
What tools do you need for basic residential carpentry?
A workable starter set covers measuring and layout, cutting, fastening and safety. That means a 25-foot tape measure, a combination square, a sliding bevel, a claw hammer, a 15-ounce finish hammer, a hand saw, a circular saw, a cordless drill-driver, an impact driver, a chisel set, two or three clamps, safety glasses and hearing protection. Add a level and a utility knife and you can handle most trim, shelving, framing repairs and small build projects without borrowing tools.
Which carpentry measuring tools are actually worth buying?
Start with a 25-foot tape measure with a locking blade and a clear scale, then add a 6-inch combination square for marking 90 and 45 degree cuts and checking edges. A sliding bevel square handles odd angles on stairs and roof cuts, and a 4-foot level keeps shelves, cabinets and door frames true. A chalk line is cheap and saves time on long layout runs. Skip digital gadgets until a specific project demands one.
What power tools for home projects should a homeowner buy first?
Buy a cordless drill-driver before anything else, then an impact driver for driving long screws without stripping heads. A circular saw comes third because it breaks down sheet goods and lumber faster than a hand saw. A jigsaw earns its place for curved cuts and sink cutouts. A miter saw is the biggest jump in cost, so buy only if you plan repeated finish work.
What carpentry safety equipment do you need for residential work?
At minimum: ANSI-rated safety glasses worn any time a saw or drill runs, hearing protection for circular and miter saws, and a NIOSH-approved dust mask when cutting manufactured wood or sanding. Add work gloves for handling lumber, sturdy boots, and a first-aid kit on site. Keep cords and blades inspected before each use, and never disable a saw guard. Eye protection prevents the most common jobsite injuries.