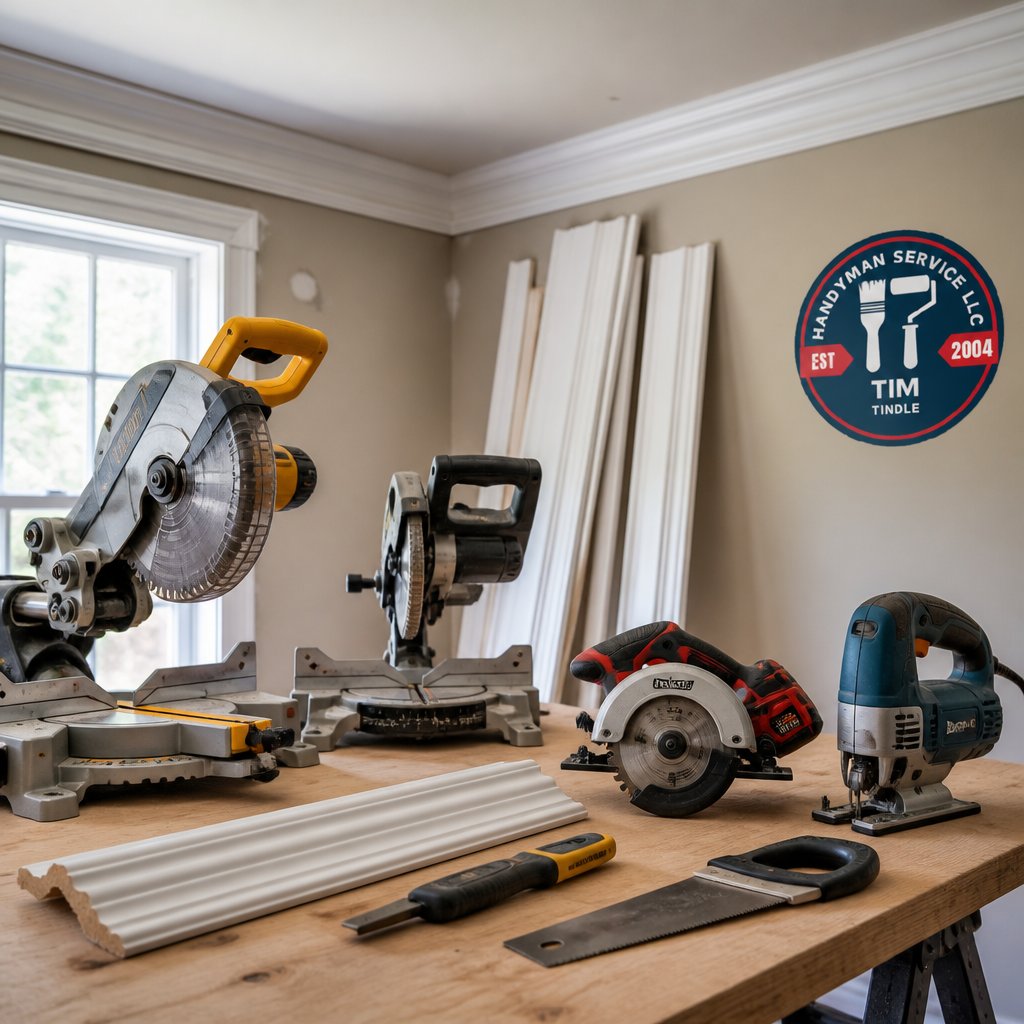
 comparison
7 Best Tools for Cutting Crown Molding That Fit Tight Corners
Last Updated: October 31, 2026
Quick Summary
The best tools for cutting crown molding are a 10- or 12-inch compound miter saw, a crown molding cutting jig, a coping saw, and a digital angle finder. That combination handles every inside and outside corner on a typical room.
- Tall or two-piece crown over 4 1/2 inches generally needs a 12-inch saw or a sliding miter saw.
- A crown molding cutting jig costs $30-$60 and holds trim at the exact spring angle.
- Flat cutting uses a 31.6-degree miter and a 33.9-degree bevel instead of nesting the crown.
- A manual miter box handles small profiles for under $50 but struggles with crown wider than about 3 inches.
- Confirm four numbers before buying: crown width, spring angle, nested crown capacity, and fence height.
Table of Contents
- The 7 Best Tools for Cutting Crown Molding at a Glance
- Quick Comparison: Tool, Best Use, and What It Costs
- Best Miter Saw for Crown Molding: What Actually Matters
- Crown Molding Cutting Jig: When a $40 Accessory Beats a $600 Saw
- How to Cut Crown Molding With a Miter Saw: Nested vs. Flat
- Cutting Crown Molding Without a Compound Miter Saw
- Coping Saws, Angle Finders, and the Small Tools That Save Joints
- Matching the Tool to Your Budget, Skill Level, and Project Size
- Get Crown Molding Measured, Cut, and Installed Right
- Frequently Asked Questions
The 7 Best Tools for Cutting Crown Molding at a Glance
The best tools for cutting crown molding are a 10- or 12-inch compound miter saw, a crown molding cutting jig, a coping saw, and a digital angle finder. That combination handles every inside and outside corner on a typical room.
What does change is how much you spend to get there. Tool prices vary widely depending on the model and the type of tool you choose.
Quick Comparison: Tool, Best Use, and What It Costs
| Tool | Best For | Typical Price Range | Skill Level |
|---|---|---|---|
| Compound miter saw (10-12 in.) | Whole-house crown, repeatable cuts | $200-$700 | Intermediate |
| Crown molding cutting jig | Beginners, single rooms, rental saws | $30-$60 | Beginner |
| Coping saw | Tight inside corners, painted trim | $15-$40 | Beginner |
| Digital angle finder | Odd wall angles, spring angle checks | $25-$60 | Beginner |
| Manual miter box | Small rooms, no power access | $15-$50 | Beginner |
| Sliding miter saw | Tall or two-piece crown over 4 1/2 inches | $350-$900 | Intermediate |
| Miter gauge and stop block | Repeatable cuts on a table saw | $20-$50 | Advanced |
Prices reflect common retail ranges for each tool category. Check current listings before you buy.
Best Miter Saw for Crown Molding: What Actually Matters
Saw capacity decides more than brand, and capacity is where most buyers get burned.
The second factor is bevel and miter detents. Crown work lives at odd angles, so a saw with positive stops at common settings saves setup time on every piece. A dual-bevel saw lets you keep the molding flat and cut from either side, which matters on long runs where flipping the workpiece is awkward. A single-bevel saw forces you to flip the piece or cut from the back, and that is where reversed cuts happen.
The third factor is the fence. A tall, solid fence supports crown held at its spring angle. Short fences force you to build a cradle, and a cradle that shifts mid-cut ruins the joint.
The fourth factor is blade size and tooth count.
One honest limitation: bigger saws are heavy. A 12-inch slider can weigh 50 pounds or more, which matters if you carry it up stairs or work solo.
Crown Molding Cutting Jig: When a $40 Accessory Beats a $600 Saw
A crown molding cutting jig holds trim at the exact spring angle so the saw cuts it like a piece of flat stock. Kreg's Crown Pro is the best-known example, and Kreg Tool's guide to crown molding jigs explains how the nesting angle works.
Here's the case for a jig over a new saw. If you already own any compound miter saw, a jig costs a fraction of an upgrade and removes the most common source of bad cuts: inconsistent workpiece orientation.
Where it falls short: a jig only fits certain molding sizes and spring angles. Buy the jig that matches your trim, not the other way around.
How to Cut Crown Molding With a Miter Saw: Nested vs. Flat
(https://www.reddit.com/r/Carpentry/) as a solo-installer fix.Flat Cuts With Compound Angles
Flat cutting lays the crown on its back and uses a compound angle. The standard settings are a 31.6-degree miter and a 33.9-degree bevel, a method The Idaho Painter demonstrates for cutting crown flat.
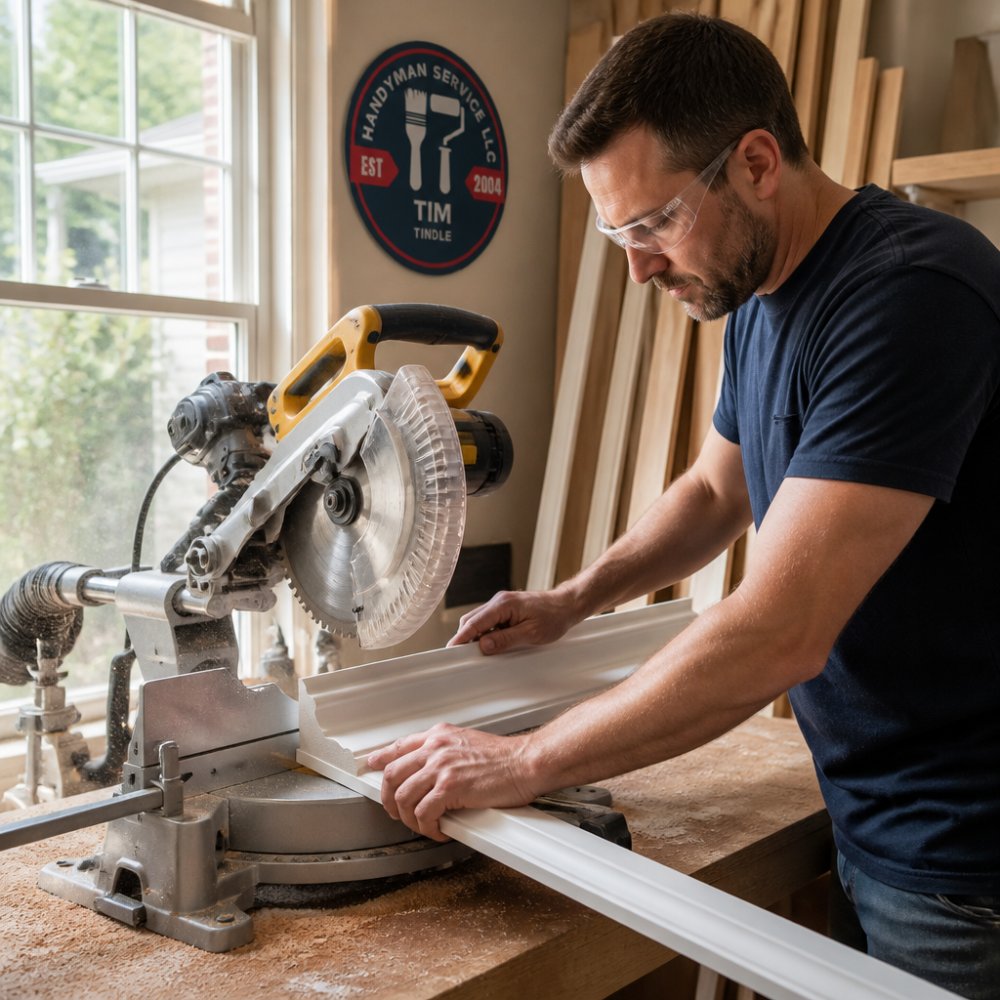
Flat cutting demands accuracy. A fraction of a degree off on the bevel shows up as a visible gap at the joint. That is why a digital angle finder earns its place in the kit.
Cutting Crown Molding Without a Compound Miter Saw
You do not need a compound miter saw to install crown.
The trade-off is speed and capacity. A manual miter box is limited to narrower crown, and hand-cutting long pieces square takes patience. Manual techniques can handle narrower profiles, which covers many cabinet crown and small-room jobs.
For a single closet or a cabinet top, a miter box and a sharp hand saw get the job done for under $50. For a full room with outside corners, you will want power.
Call 720-989-4123 for a free estimate →
Coping Saws, Angle Finders, and the Small Tools That Save Joints
Small tools decide whether joints look professional. A coping saw cuts the inside corner profile so it overlaps the adjacent piece, which hides wall movement and imperfect framing.
A digital angle finder removes guesswork on walls that are not square. Bosch and similar models measure the actual corner, and This is Carpentry's guide to cutting and coping crown recommends them for crown with varying spring angles.
Add a stop block for repeatable cuts and a fine-tooth blade for clean edges. If a joint still opens up, our guide on how to fix gaps in crown molding walks through the fill and caulk steps.
Matching the Tool to Your Budget, Skill Level, and Project Size
Most crown molding tool guides list products and stop there. The harder question is which combination fits your project, your skill level, and what you already own. Use this decision framework instead of buying the most expensive saw on the shelf.
Start With What You Already Own
If you already own any compound miter saw, your cheapest path is usually an add-on jig ($30-$60) plus a coping saw ($15-$40) and a digital angle finder ($25-$60).
If you own only a circular saw or a hand saw, a manual miter box ($15-$50) covers small profiles and short runs, but it struggles with crown wider than about 3 inches and will not handle a full room with outside corners efficiently.
Match the Tool to Project Size
| Project | Recommended kit | Typical accessory spend |
|---|---|---|
| One cabinet or closet | Manual miter box, coping saw, angle finder | $40-$100 |
| One room, inside corners only | Existing saw + jig, coping saw, angle finder | $70-$160 |
| One room with outside corners | Compound miter saw, jig, coping saw, angle finder, stop block | $300-$800 |
| Whole house or two-piece crown | 12-inch slider or 10-inch saw with jig, angle finder, stop block, outfeed support | $500-$1,200 |
Prices reflect common retail ranges for each tool category. Check current listings before you buy.
Match the Tool to Skill Level
Beginners do best with a jig because it removes the upside-down, backwards orientation problem that causes most bad cuts. Intermediate users who understand spring angles can cut nested directly against the fence and skip the jig. Advanced users cutting on a table saw can use a miter gauge and stop block ($20-$50) for repeatable cuts, but that setup demands a sled or gauge that holds the crown at its spring angle.
The Compatibility Checks That Prevent Waste
Before you buy, confirm four numbers: your crown's width, its spring angle (38 or 45 degrees are common), your saw's nested crown capacity, and your saw's fence height. A mismatch on any one of them means a jig, a cradle, or a bigger saw. The most expensive mistake is buying a saw without checking its capacity against your molding; a 10-inch saw that cannot cut your 5-inch crown nested is money wasted.
If the project is large or the corners are irregular, hiring out often costs less than the tools. Our article on how long custom carpentry takes to complete covers timelines for bigger trim jobs.
Get Crown Molding Measured, Cut, and Installed Right
Tight joints come down to setup, not luck. Measure every corner, match your method to the molding's spring angle, and test-cut on scrap before you touch the finish pieces.
If you would rather skip the tool shopping, Handyman Service Aurora provides licensed and insured carpentry across Aurora, Foxfield, Parker, Centennial, and the Denver Metro, with free estimates. Read when to hire a professional handyman first.
Get started with Handyman Service Aurora and request a free estimate for your crown molding project. Call 720-989-4123 to schedule.
Frequently Asked Questions
What is the best tool for cutting crown molding?
A 10-inch or 12-inch compound miter saw handles most crown molding jobs, and it is the tool professional installers reach for first. For 4 1/2-inch-wide crown or smaller, a single-bevel saw with a crown molding cutting jig works fine. Add a coping saw for inside corners, a digital angle finder for odd spring angles, and a fine-tooth blade for clean cuts. Budget matters less than setup: a mid-range saw tuned correctly beats an expensive one set up wrong.
Can you cut crown molding with a regular miter saw?
Yes. A standard miter saw cuts crown molding if you nest the trim against the fence at its spring angle and use the saw's miter adjustment. The limitation is bevel capacity: most basic saws max out around 45 degrees, which is enough for standard 38-degree crown but tight for tall or two-piece profiles. If you plan to cut flat on the table, you need a compound saw that reaches the 31.6-degree miter and 33.9-degree bevel settings.
Do you need a compound miter saw to cut crown molding?
No. Plenty of trim carpenters cut crown molding on a standard miter saw by nesting the workpiece against the fence and swinging only the miter. A compound saw makes flat cutting easier and handles tall molding better, but it is not required. A miter box and a sharp hand saw will also get you through a small room, just slower and with more cleanup on the joints.
Is it better to cut crown molding flat or nested?
Nested cutting keeps the molding in its installed orientation against the saw fence, so the miter angle matches the corner angle directly. Flat cutting lays the trim on its back and uses compound angles, typically 31.6 degrees miter and 33.9 degrees bevel for standard crown. Flat cutting is safer for tall and two-piece crown because the workpiece stays supported, while nested cutting is faster for repeatable cuts on smaller profiles.
The right tools make crown molding a weekend project; the wrong ones make it a month of re-cuts. If you want the job measured, cut, and installed without buying a saw you will use once, Handyman Service Aurora offers free estimates, licensed and insured crews, and carpentry service across the Denver Metro. Call 720-989-4123 to get started.