 how-to
How to Stage a Home Remodel Project
Table of Contents
- Why Staging Matters During a Home Remodel
- Create a Home Renovation Timeline That Includes Staging
- Build Your Home Renovation Budget Template With Staging Costs
- Prepare Your Home Renovation Checklist for Staging Success
- How to Protect Furniture During Renovation and Staging
- Stage High-Impact Rooms for Maximum Appeal
- Timing Photography and Open Houses After Your Remodel
- Frequently Asked Questions
Last Updated: October 10, 2026
Why Staging Matters During a Home Remodel
Staging after a remodel directly impacts sale speed and price. Most homeowners rush to list immediately after construction, missing the critical window when strategic presentation helps buyers visualize themselves in the space.
Proper staging transforms remodeled spaces into compelling features. This guide explains how to stage a home remodel project by connecting renovation work directly to staging success, ensuring every dollar spent translates into buyer interest and higher offers.
Timing is critical: construction dust and debris prevent effective staging, but waiting too long after completion means missing the window when your home looks best. The sequence, finishing work, deep cleaning, staging, photography, listing, makes all the difference.
Create a Home Renovation Timeline That Includes Staging
Your timeline must treat staging as dependent on construction completion and cleanup milestones. Construction dust, open walls, and unfinished work make staging impossible until specific readiness criteria are met.
Phase 1: Active Remodeling (Weeks 1-8)
During active construction, do not attempt to stage. Instead, plan your staging strategy: identify remodeled rooms, plan furniture and decor, schedule post-construction cleaners, determine which furniture to stage or store, and reserve storage if needed.
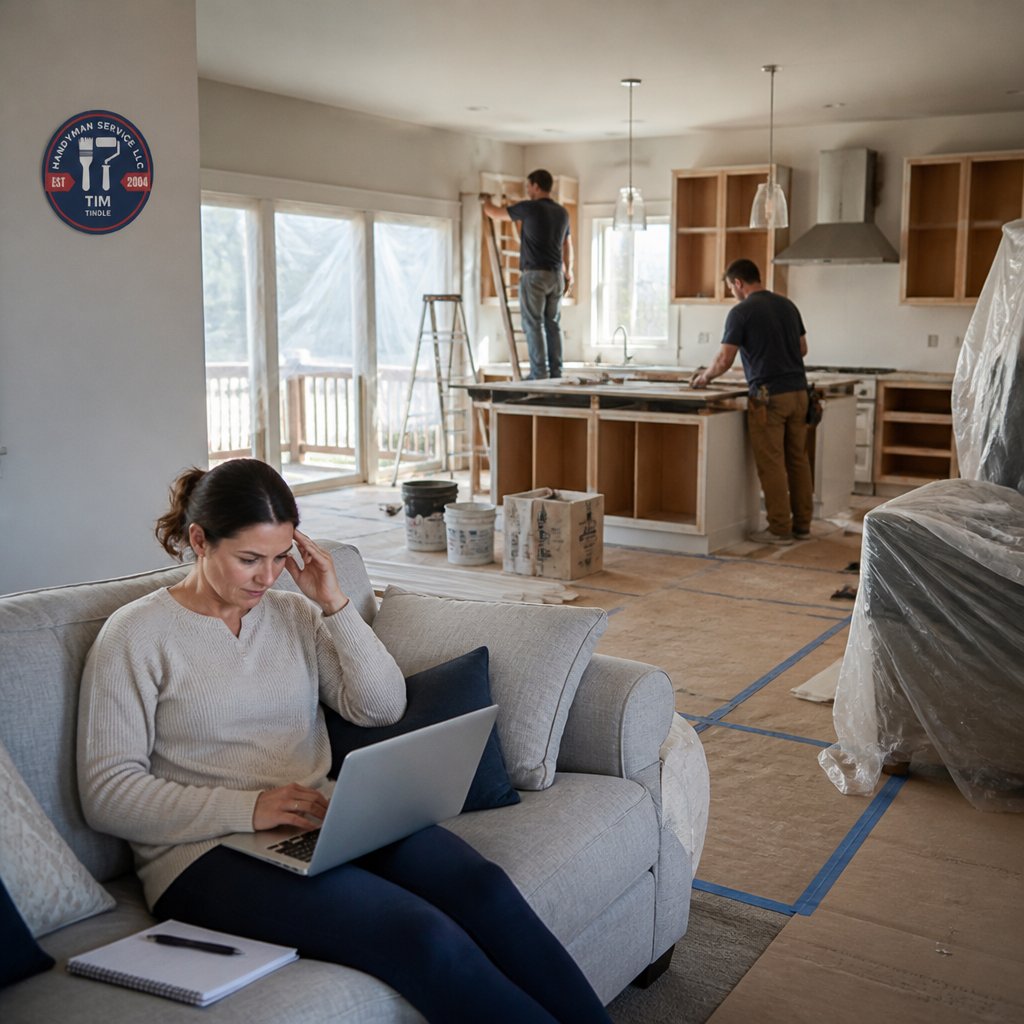
If living in the home during remodeling, establish a clean zone with plastic sheeting and door seals to protect staging furniture and keep living spaces habitable.
Phase 2: Final Inspections and Punch-List Work (Week 9)
Construction completion and staging readiness are not the same. After substantial completion, a punch-list phase addresses final details: caulking, touch-up painting, hardware, and fixture adjustments. Do not stage until punch-list work is finished; staging around repairs signals incompleteness and creates liability.
Conduct a final walkthrough to identify punch-list items, prioritize visible repairs (trim, paint, hardware, grout), schedule completion by week's end, and plan deep-cleaning to begin immediately after.
Phase 3: Deep Cleaning and Debris Removal (Week 10)
Construction dust settles in cabinets, on fixtures, vents, baseboards, and corners. Standard cleaning won't remove it. Professional post-construction cleanup takes 2-3 days; crews use industrial equipment and HEPA vacuums. Schedule immediately after punch-list work; dust will resettle if you wait.
Cleaners will vacuum with HEPA equipment, dust all surfaces including baseboards and fixtures, clean cabinets and closets, wipe walls, clean windows and glass, mop flooring, and address construction stains. After completion, walk through and request the crew address any missed areas.
Phase 4: Staging Setup and Furniture Arrangement (Week 11)
After deep cleaning, move furniture and decor in. Staging takes 3-5 days: furniture delivery and arrangement (days 1-2), decor placement and styling (days 2-3), final walkthrough (days 4-5). Maintain cleanliness by avoiding strong-smelling foods, limiting foot traffic, and keeping comfortable temperature.
Phase 5: Professional Photography and Listing Launch (Week 12)
Schedule professional photography 2-3 days after staging is complete, during optimal natural light (10 a.m.-2 p.m.). List the home within 1-2 days of photo approval; the "just remodeled" appearance fades quickly.
Building in Buffer Time
Add 1-2 weeks of buffer time between punch-list work and deep cleaning to account for construction delays. A realistic 14-16 week timeline ensures staging happens only when the home is truly ready.
Build Your Home Renovation Budget Template With Staging Costs
A home renovation budget template should include staging costs as a separate line. Staging costs vary: owned furniture may cost only a few hundred dollars, while rented furniture and professional services range from hundreds to thousands. Allocate a portion of your remodeling budget to staging and photography, an investment that can contribute to faster sales and higher offers.
Prepare Your Home Renovation Checklist for Staging Success
A home renovation checklist for staging must cover decluttering, deep cleaning, and repairs.
Declutter and Remove Personal Belongings
Remove personal items (photos, memorabilia, collections) to storage before staging. Remove at least 30% of furniture and decor from each room to create space and traffic flow. In bedrooms, consider removing one piece entirely. Create a staging storage plan; rent a small unit if needed.
Deep Clean and Handle Construction Debris
Hire professional post-construction cleaners to remove dust from baseboards, cabinets, fixtures, vents, windows, and flooring. Budget 2-3 days and expect higher costs than regular cleaning. After completion, walk through and note any missed areas.
Repairs and Touch-Ups Before Photos
Complete all small repairs before photography: touch up paint, recaulk gaps, tighten hardware, fix squeaky doors, replace burnt-out bulbs, repair grout, and fix drywall imperfections. These details take hours but signal overall home quality to buyers.
How to Protect Furniture During Renovation and Staging
Furniture protection involves two challenges: protecting staging pieces from construction dust during active work, and managing dust in staged areas during final finishing. Most homeowners underestimate dust pervasiveness.
Protecting Furniture During Active Construction
Store staging furniture in a separate room or storage unit during active construction rather than covering it in place. Use plastic sheeting and door seals to contain dust, and run HEPA air purifiers in non-construction areas. Storage unit costs are minimal compared to cleaning or replacing dust-damaged furniture.
Managing Dust in Staged Spaces During Final Work
Even after major construction ends, finishing work (drywall sanding, paint application, trim installation, caulking) generates dust. If you've already moved staging furniture into the home, this dust will settle on pieces and surfaces.
Coordinate with your contractor to complete all dust-generating work before furniture arrives. Specifically:
- All drywall mudding, sanding, and finishing must be complete
- All paint application and touch-ups must be done
- All sawing, cutting, and demolition must be finished
- Caulking and sealant work should be complete
Only after these phases are done should you schedule deep cleaning and then furniture delivery.
If finishing work must occur after furniture is in place, protect staged pieces:
Call 720-989-4123 for a free estimate →
- Cover upholstered furniture with plastic sheeting or furniture covers
- Drape fabric over lamps, artwork, and decorative items
- Close cabinet doors and drawers to prevent dust infiltration
- Use plastic sheeting to seal off rooms where work is happening
- Run air purifiers continuously to capture airborne dust
After finishing work ends, remove all protective coverings and have your cleaning crew do a final dust removal pass before showings begin.
Timing Furniture Delivery and Rental Coordination
If you're renting furniture, coordinate delivery timing carefully. Rental furniture is an expense to consider. Having pieces sit in your home for weeks before photography wastes budget.
Schedule furniture delivery for 2-3 days before professional photography. This gives you time to arrange pieces, adjust styling, and address any issues without paying for extra rental days.
For owned furniture, move pieces in only after deep cleaning is complete. Dust will resettle if you bring furniture in before the home is thoroughly cleaned.
Protecting Staged Spaces During Showings
Once staging is complete and the home is listed, maintain protection against new dust and damage:
- Limit foot traffic in staged rooms when the home is not being shown
- Keep windows closed on windy days to prevent outdoor dust from entering
- Avoid cooking or activities that generate odors or particles
- Maintain consistent temperature and humidity to prevent dust attraction
- Do a light dust and vacuum the day before scheduled showings
If your home is in an area with high outdoor dust or pollen, run air purifiers continuously and consider having your cleaning crew do a final walkthrough the morning of open houses.
Stage High-Impact Rooms for Maximum Appeal
Focus your staging effort on rooms that sell homes: kitchen, primary bedroom, and primary bathroom. These are the spaces buyers evaluate most critically. They're also the spaces most likely to have been remodeled.
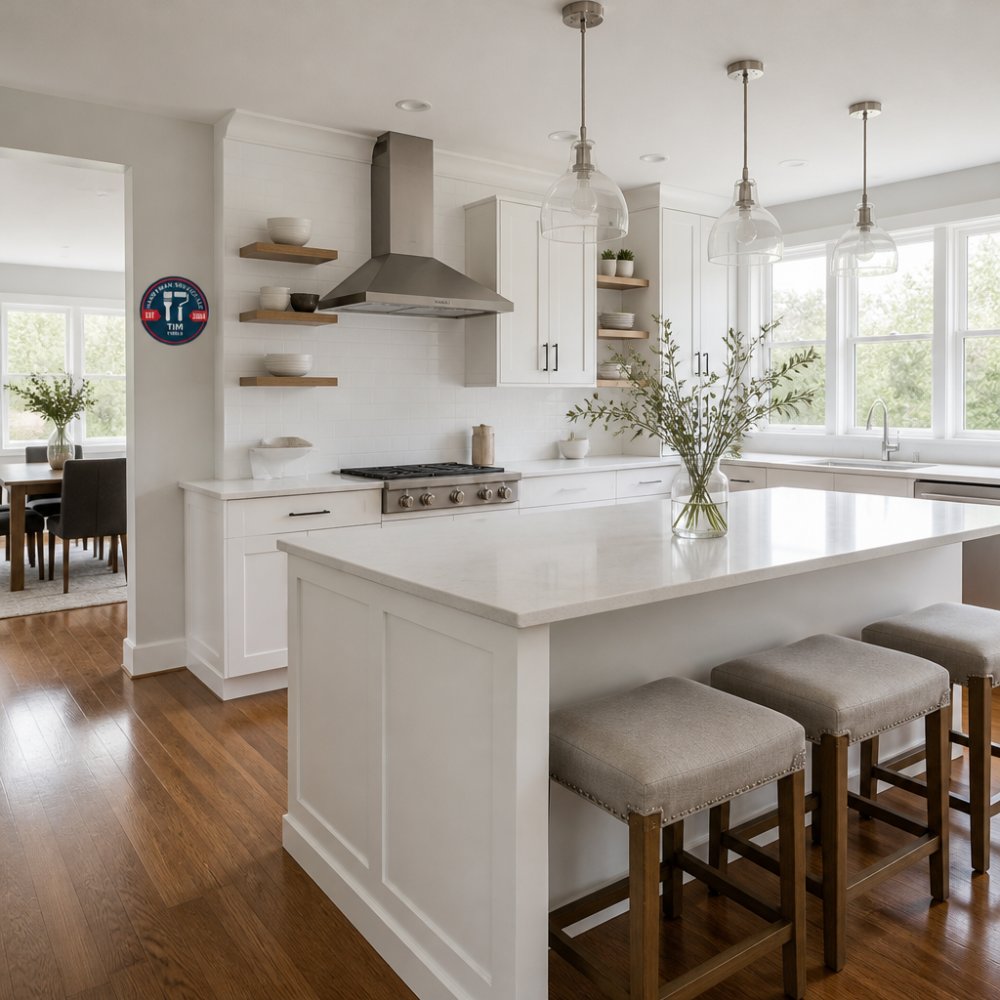
Kitchen and Bathroom Staging
The kitchen is where buyers spend the most time during a showing. Stage it to highlight your remodeling work without looking sterile.
Keep countertops mostly clear. A few decorative items, a small plant, a cookbook, a candle, add warmth without clutter. Open shelving should display only attractive items. Hide everyday clutter in cabinets.
Ensure lighting is bright. Turn on all lights during showings. New kitchen lighting from your remodel should be spotless and working perfectly. Clean light fixtures thoroughly.
For bathrooms, the primary bath is critical. Stage it like a spa. Fresh white towels, a single plant, and minimal counter clutter create a serene feeling. Ensure the shower or tub is spotless.
Both spaces should smell fresh. Avoid strong scents, but a subtle clean smell (fresh linens, light citrus) helps. Never use heavy air fresheners, they signal you're hiding something.
Bedroom and Living Room Layout
Bedrooms should feel spacious and restful. Arrange furniture to show the room's actual dimensions. In the primary bedroom, stage with a made bed, one nightstand with a lamp, and minimal additional furniture. This creates a calm, spacious feeling.
Living rooms should show traffic flow and furniture arrangement options. Arrange seating to face a focal point, fireplace, window view, or entertainment area. Don't overcrowd the space. Leave room for buyers to imagine their own furniture arrangement.
In both spaces, neutral colors work best. If you've painted during remodeling, stick with soft neutrals. Remove bold artwork or personal decor. Keep window treatments simple and clean.
Timing Photography and Open Houses After Your Remodel
Schedule professional photography 3-5 days after staging is complete. Timing matters because the home needs to be perfectly clean and arranged, but not so far ahead that it becomes lived-in again.
Photograph during the best natural light hours, typically late morning through early afternoon. This shows your remodeled spaces at their best. Good lighting makes new finishes and fresh paint shine.
After photography, you can host open houses, having successfully learned how to stage a home remodel project. Most buyers will see photos first online, so professional images are critical.
Keep the home in showing condition during the listing period. This means maintaining the staged look, keeping it clean, and managing traffic carefully. Your remodeling investment deserves to be presented perfectly.
Staging a remodeled home requires planning, but the payoff is real. Buyers need to see the value of your remodeling work clearly.
Frequently Asked Questions
When should I stage a home remodel project, before, during, or after construction?
Stage after construction is complete and the home is cleaned thoroughly. Begin staging 1-2 weeks before professional photos and open houses. During active remodeling, focus on protecting remaining furniture and managing debris. The goal is to present a move-in-ready home to buyers, so wait until repairs, painting, and deep cleaning are finished. This timing maximizes curb appeal and helps buyers visualize themselves in the space.
What should a home renovation timeline include to prepare for staging?
Your home renovation timeline should allocate 2-3 weeks after construction completion for cleanup, repairs, and staging setup. Build in time for deep cleaning, furniture arrangement, and minor touch-ups. Schedule professional photos 1-2 weeks after staging is complete. Include a buffer for unexpected delays during the remodel itself. A realistic timeline prevents rushing the staging process and ensures your home shows at its best when listings go live and buyers schedule showings.
How much should I budget for staging after a home renovation?
Staging costs depend on whether you rent furniture, hire a professional stager, or do it yourself. Include this in your home renovation budget template as a separate line item. Many homeowners find staging costs can contribute to faster sales and higher offers.
How do I protect furniture during renovation if I'm living in the home?
Use plastic sheeting, drop cloths, and furniture covers to protect pieces from dust and debris. Move essential furniture to clean rooms away from active work areas. Store valuable or sentimental items off-site if possible. Seal doorways with plastic to contain construction dust. After the remodel, deep clean all furniture and surfaces before staging. Protecting furniture during renovation preserves it for staging and reduces post-construction cleanup time, helping you move faster from finished remodel to market-ready home.
Frequently Asked Questions
When should I stage a home remodel project—before, during, or after construction?
Stage after construction is complete and the home is cleaned thoroughly. Begin staging 1-2 weeks before professional photos and open houses. During active remodeling, focus on protecting remaining furniture and managing debris. The goal is to present a move-in-ready home to buyers, so wait until repairs, painting, and deep cleaning are finished. This timing maximizes curb appeal and helps buyers visualize themselves in the space.
What should a home renovation timeline include to prepare for staging?
Your home renovation timeline should allocate 2-3 weeks after construction completion for cleanup, repairs, and staging setup. Build in time for deep cleaning, furniture arrangement, and minor touch-ups. Schedule professional photos 1-2 weeks after staging is complete. Include a buffer for unexpected delays during the remodel itself. A realistic timeline prevents rushing the staging process and ensures your home shows at its best when listings go live and buyers schedule showings.
How much should I budget for staging after a home renovation?
Staging costs depend on whether you rent furniture, hire a professional stager, or do it yourself. Include this in your home renovation budget template as a separate line item. Many homeowners find staging costs can contribute to faster sales and higher offers.
How do I protect furniture during renovation if I'm living in the home?
Use plastic sheeting, drop cloths, and furniture covers to protect pieces from dust and debris. Move essential furniture to clean rooms away from active work areas. Store valuable or sentimental items off-site if possible. Seal doorways with plastic to contain construction dust. After the remodel, deep clean all furniture and surfaces before staging. Protecting furniture during renovation preserves it for staging and reduces post-construction cleanup time, helping you move faster from finished remodel to market-ready home.