 how-to
How Do You Seal Gaps in Siding Before Winter?
Last Updated: November 4, 2026
Quick Summary
To seal gaps siding before winter, find each opening, clean and dry the surface, and fill it with the right material. Gaps under a quarter inch usually need only exterior caulk, while larger openings need backer rod first. Leave weep holes and drainage openings open so trapped moisture cannot damage the wall.
- Gaps under 1/4 inch usually need only exterior caulk.
- Gaps over 1/2 inch should be filled before caulking.
- Use a sealant rated for exterior use and your siding material.
- Most exterior sealants need about 40 degrees Fahrenheit to apply.
- Never seal weep holes or drainage openings in the siding.
Table of Contents
- Why Gaps in Siding Matter Before Winter
- Diagnosing Drafts: Finding Gaps, Holes and Penetrations
- Gap-Size Decision Guide: What to Seal and What to Leave Open
- Choosing the Best Exterior Caulk for Siding
- How to Fill Large Gaps in Siding
- How to Fill the Gap Between Siding and Foundation
- Applying Sealant in Cold Weather and Where Not to Caulk
- Scheduling Your Winter Siding Repairs With Handyman Service Aurora
- Frequently Asked Questions
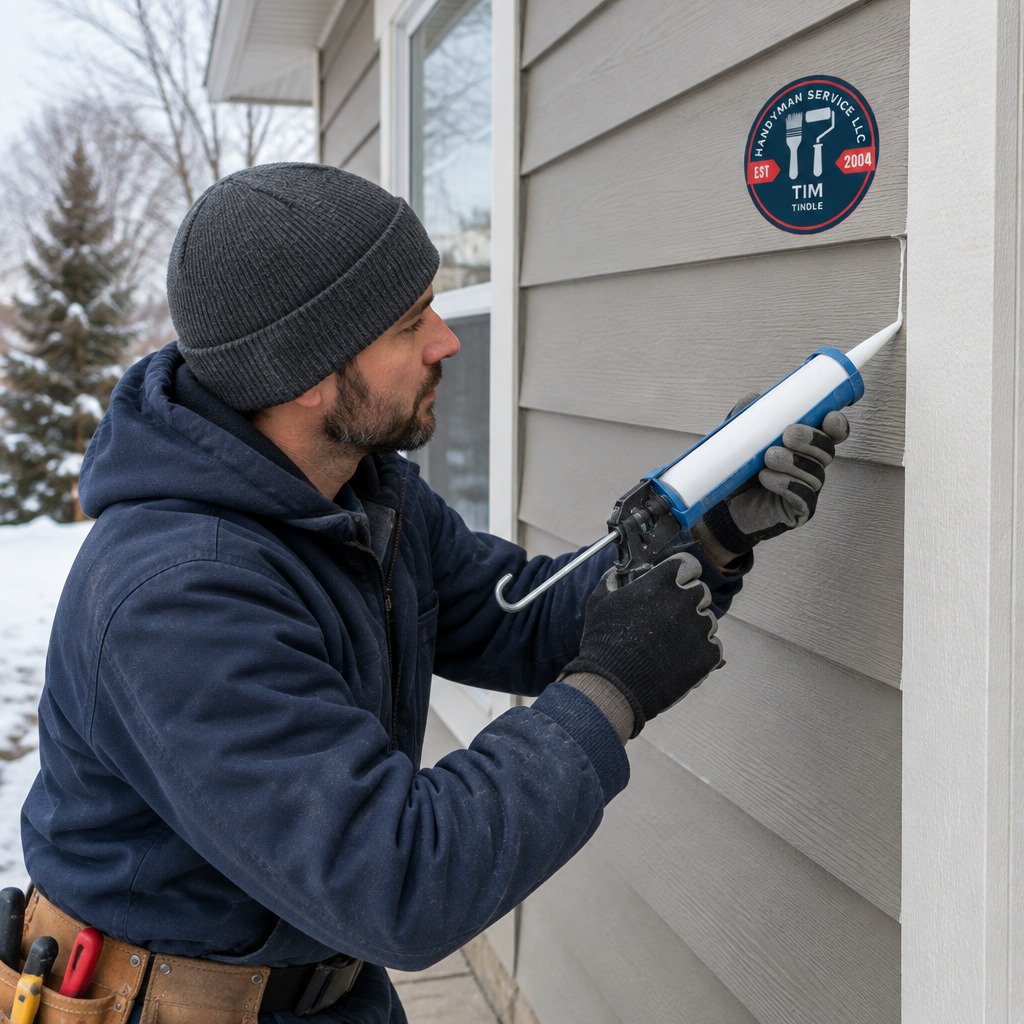
Cold air is getting into your home right now, and the cause is often a small gap in the siding, so learning to seal gaps siding before winter can make a real difference. Sealing those gaps before winter is one of the cheapest ways to cut drafts, keep pests out, and protect your walls from moisture. For ongoing guidance on protecting exterior seals in harsh climates, see ongoing maintenance of exterior seals. This guide walks you through finding the leaks, choosing the right sealant, and applying it correctly in cold weather.
The short answer: find the gap, clean the surface, fill it with the right material, and smooth the bead. Gaps smaller than a quarter inch usually need only caulk. Larger openings need backer material first.
Why does this matter now? Winter pushes cold air and moisture into every crack, and water that gets behind siding can cause rot and mold over time. Taking an hour before the first freeze is far easier than repairing damage in spring.
Why Gaps in Siding Matter Before Winter
Siding is your home's first line of defense against weather. When it shifts with temperature changes, small openings form at seams, corners, and trim. Those openings let cold air, moisture, and insects inside.
Here is what a gap usually causes:
- Drafts that make rooms harder to heat
- Moisture that gets behind siding and rots wood sheathing
- Pest entry for ants, spiders, and wasps
- Water intrusion that shows up as stains or peeling paint indoors
A common mistake is sealing only the gaps you can see from the ground. Check higher on the walls and around window and door frames, where the damage often starts.
Diagnosing Drafts: Finding Gaps, Holes and Penetrations
Start on a calm, cool day, when drafts are easiest to feel. Walk the exterior slowly and look for:
- Gaps where siding meets trim, windows, and doors
- Openings around pipes, hose bibs, dryer vents, and electrical lines
- Cracks at siding seams and joints
- Holes left by old fixtures, mounts, or removed accessories
Hold a lit incense stick or a thin strip of tissue near each suspect spot before you seal gaps siding. Smoke or movement tells you air is passing through.
Pay close attention to exterior penetrations. A pipe that passes through siding with a loose or missing seal is a frequent source of both drafts and water entry.
Gap-Size Decision Guide: What to Seal and What to Leave Open
Not every gap should be sealed the same way, and some should not be sealed at all. Use this rough guide:
| Gap Size | Best Approach | Notes |
|---|---|---|
| Under 1/4 inch | Exterior caulk | Caulk alone usually works |
| 1/4 to 1/2 inch | Caulk over backer rod | Backer rod gives the bead a stable base |
| Over 1/2 inch | Fill, then caulk | Use foam or filler before caulking |
| Weep holes or drainage gaps | Leave open | Sealing these traps water inside the wall |
Leave drainage openings alone. Many siding systems are designed to let water drain out, and sealing those openings can trap moisture where it does the most damage.
Choosing the Best Exterior Caulk for Siding
Sealant choice depends on the siding material, not just the gap size. A product that bonds well to vinyl may stain fiber cement or fail to flex with wood. To compare products for temperature swings, read the guide to exterior caulk for fluctuating temperatures.
Vinyl siding. Vinyl expands and contracts more than any other common siding, so a flexible, paintable exterior sealant labeled for vinyl is generally the better choice. Rigid products can crack or pull away at seams.
Wood siding. Wood moves with moisture and temperature, so a flexible acrylic latex or urethane sealant works better than a rigid one. Seal bare wood only after it is clean and dry, and prime any exposed end grain before caulking.
Fiber-cement siding. Fiber cement is dimensionally stable but can wick moisture at cut edges. Use a paintable exterior sealant rated for fiber cement, and seal joints and penetrations rather than the field of the panel. Avoid caulking the bottom edge of the panel or any designed drainage gap.
Metal siding. Aluminum and steel siding expand and contract and can be stained by some sealants. Use a flexible exterior sealant labeled for metal, and avoid acid-cure silicone on bare metal because it can corrode the surface. Seal seams and penetrations, but leave the bottom edge of panels and any weep openings open so condensation can drain.
What to check on the tube. Look for an exterior rating, a movement capability (often stated as a percentage of joint width), compatibility with your siding material, paintability if you plan to paint, and a minimum application temperature.
Watch out: a sealant labeled for exterior use is not automatically compatible with every siding material, and using the wrong one can stain, soften, or fail to bond.
How to Fill Large Gaps in Siding
For openings wider than about half an inch, caulk alone will not hold. Fill the void first, then seal the surface.
Call 720-989-4123 for a free estimate →
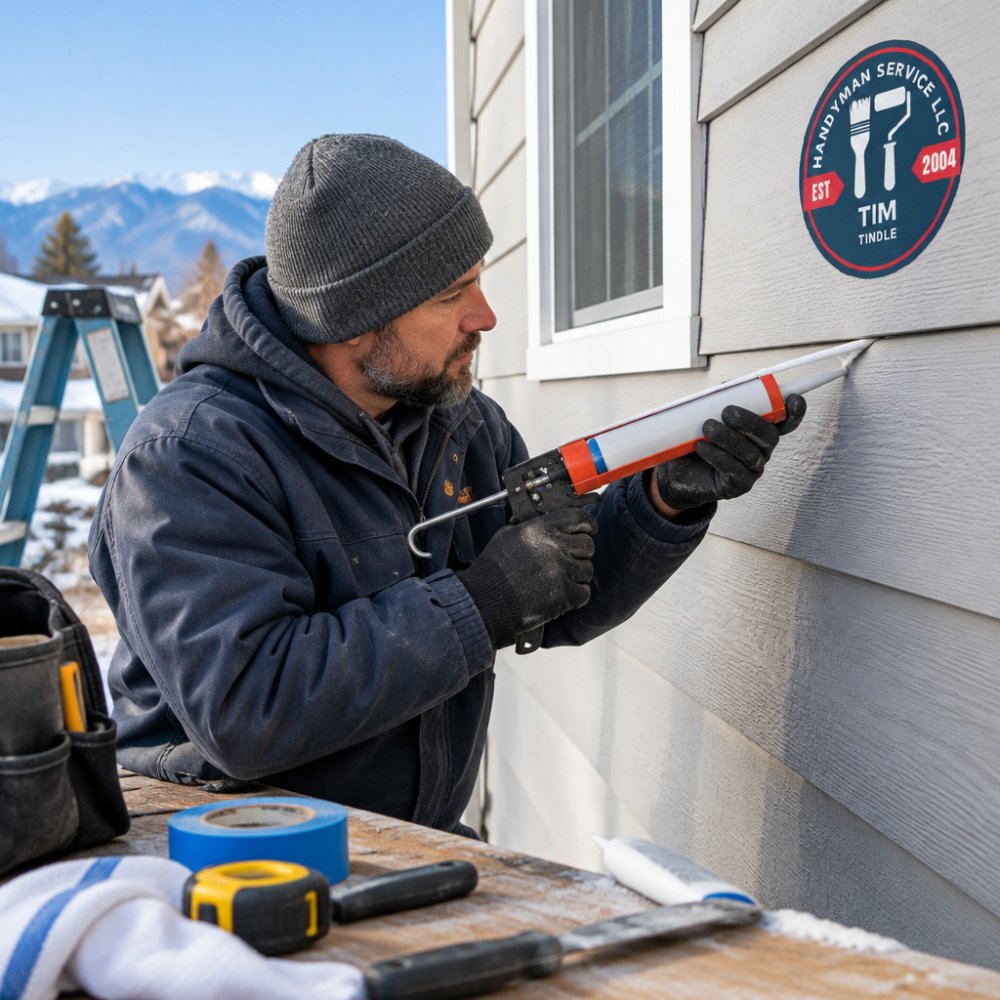
- Stuff the gap with backer rod or a foam product made for exterior use
- Leave room for the sealant, about 1/4 inch deep
- Apply caulk over the filler in a smooth bead
- Smooth the bead with a wet finger or tool before it skins over
Expanding foam is sometimes used in deep cavities, but overfilling can push siding out of place.
Preparing the Surface and Backer Material
Good adhesion depends on preparation. Skipping this step is why many fresh caulk jobs fail within a season.
- Clean the surface of dust, cobwebs, loose paint, and old caulk
- Remove loose material with a scraper or stiff brush
- Dry the area completely before applying sealant
- Cut backer rod about 1/8 inch wider than the gap so it fits snugly
Backer rod is a foam cord that controls how deep the sealant goes. It keeps the bead the right shape and stops it from sticking to the back of the joint, which would make it tear.
How to Fill the Gap Between Siding and Foundation
The joint where siding meets the foundation is a common leak point. It also moves seasonally, so the repair needs to flex.
Clean the joint thoroughly and remove any old, crumbling sealant.
Applying Sealant in Cold Weather and Where Not to Caulk
Cold weather changes how sealant behaves, and the label is the authority. To check whether the weather is right for caulking, see the seasonal timing guide for exterior caulk. Most exterior sealants list a minimum application temperature, commonly around 40 degrees Fahrenheit for acrylic latex and somewhat lower for some urethane and silicone products. Below that range, the sealant may not bond, may skin over before it tools, or may cure so slowly that rain or snow ruins the bead.
Surface and weather conditions. The surface must be dry and free of frost, ice, and standing water. Sealant will not bond to a damp or frozen surface, and a bead applied over frost can peel off within days. Check the forecast for rain or snow within the cure window; most exterior sealants need several hours of dry weather before they are rain-resistant, and full cure can take days in cool temperatures.
When it is too cold. If the temperature is below the label minimum and cannot be brought into range, do not force the job. Options are to wait for a warmer window, use a sealant specifically rated for cold-weather application, or temporarily close the largest gaps with a mechanical cover and schedule the sealing for the next mild stretch. Expanding foam has its own temperature limits and can fail to expand or adhere in the cold, so check that label separately.
Where not to caulk. Some openings are functional and must stay open:
- Weep holes and drainage channels in vinyl, fiber-cement, and metal siding systems, which let water escape from behind the wall
- The bottom edge of siding panels where the system is designed to drain
- Vented areas that allow moisture to escape from the wall assembly
- Wet, damp, or frozen surfaces, which will not hold a bond
- Movement joints that need room to expand, unless you use a sealant rated for that movement
If you are unsure whether a gap is a drainage path, leave it open and check the siding manufacturer's installation instructions or consult a professional. Sealing a drainage opening can trap water behind the siding, which is a far more expensive problem than the draft you were trying to fix.
Watch out: a bead that looks fine on a cold afternoon can fail within a season if the surface was damp or the temperature dropped below the label minimum before the sealant cured.
Scheduling Your Winter Siding Repairs With Handyman Service Aurora
Sealing siding is a job many homeowners can handle, but it takes time, the right materials, and good weather. If you have several gaps, or you are unsure about siding type, a licensed and insured professional can help.
Handyman Service Aurora offers free estimates and serves Aurora, Foxfield, Parker, Centennial, and the wider Denver Metro area. For broader winter prep, read the local winterization guide for Aurora homes. Our team is licensed and insured, so you have peace of mind on your property. Call 720-989-4123 for a free estimate before the cold sets in.
Frequently Asked Questions
Can I seal siding gaps in winter?
Yes, but only when the temperature is within the sealant's application range, usually above about 40 degrees Fahrenheit. Work on the warmest part of the day and check the label before you start.
What size gap needs backer rod?
Gaps wider than about 1/4 inch benefit from backer rod. It gives the sealant a stable base and controls how deep it goes.
Should I seal every gap I find?
No. Leave weep holes and drainage openings alone, since sealing them can trap moisture inside the wall.
Frequently Asked Questions
How can I seal small gaps in my siding?
For gaps about a quarter inch wide or less, a paintable exterior-rated silicone or polyurethane caulk is usually enough. Clean the area of dust, cobwebs and loose material first, then cut the nozzle to a small opening and apply a continuous bead. Smooth the bead with a wet finger or tool before it skins over. Check the product label for the temperature range it can be applied in, since many sealants will not cure properly in cold weather. Pricing for materials depends on the product and quantity you choose, so compare current options at your local hardware store.
Should you caulk siding seams?
Caulk is typically applied at trim, window and door frames, corners, and exterior penetrations such as pipes and vents, where water and air can enter. Many siding systems, including lap and vinyl siding, are designed to move with temperature changes and need room to expand and contract. Sealing every seam can trap moisture behind the siding and cause problems later. Check the siding manufacturer's installation guidance before filling any horizontal or overlapping seam.
What is the best exterior caulk for wide siding gaps?
For gaps wider than a quarter inch, caulk alone often fails because it lacks the depth to hold. Start by pushing a closed-cell backer rod into the gap so the sealant bonds only to the two sides, not the bottom. Then apply a flexible exterior-rated sealant over it. Expanding foam can fill deep voids, but it should be kept behind the weather barrier and not used as the exposed finish. The right product depends on the siding material and gap size, so verify compatibility on the label.
How do I prevent pests from entering through siding gaps?
Pests such as rodents, wasps and insects usually enter through openings at penetrations, corners and gaps where siding meets the foundation. Sealing these openings with a durable exterior sealant or a fine mesh barrier helps block entry. Inspect the exterior each season, especially after winter, and repair any gap that reappears. Larger openings may need a professional assessment before sealing, since blocking entry points without addressing a nest or moisture problem can cause further damage.