 how-to
How to Know When to Repaint Kitchen Walls
Last Updated: November 7, 2026
Quick Summary
There is no fixed schedule for how often to repaint kitchen walls: working painters give answers ranging from every three to four years to about every ten, and both can be right. Paint in good condition can last a decade, while paint behind a fryer-side stove can fail in three years. Judge your own walls by signs like peeling, cracking, chalking, and stains that scrubbing will not lift rather than by the calendar.
- Clean and degrease painted kitchen walls before judging them, since grease and cooking residue mimic failing paint.
- Satin or semi-gloss is the best paint finish for kitchen walls because both resist moisture and wipe clean.
- Rub a damp white cloth on a hidden spot; if paint transfers, the coating is chalking and breaking down.
- Press aluminum foil against a suspect corner overnight; morning condensation points to moisture that will push paint off.
- Run the exhaust fan every time you cook and wipe the wall behind the stove monthly to slow paint wear.
Table of Contents
- How Often to Repaint Kitchen Walls: Why the Estimates Differ
- Signs a Room Needs Repainting
- How to Clean Painted Kitchen Walls Before You Decide
- The Best Paint Finish for Kitchen Walls
- How to Prepare Walls for Painting
- What Changes the Timeline: Cooking, Moisture, and Household Activity
- Book a Professional Repaint for Your Kitchen Walls
- Frequently Asked Questions
How Often to Repaint Kitchen Walls: Why the Estimates Differ
Most homeowners asking how often to repaint kitchen walls get one of two answers: every three to four years, or about every ten. Both come from working painters, and both can be right. This guide explains why the estimates split and how to judge your own walls instead of guessing.
The short answer: there is no fixed schedule. Kitchen walls collect grease, steam, and scuffs faster than any other room in the house. Paint in good condition can last a decade. Paint behind a fryer-side stove can fail in three years.
That gap is the whole story. The rest of this guide shows you how to read your walls, clean them, prep them, and pick a finish that survives kitchen conditions.
Signs a Room Needs Repainting
The clearest signs a room needs repainting are peeling, cracking, chalking, and stains that scrubbing will not lift. Those signals matter more than the calendar. A wall painted eight years ago that still wipes clean does not need a fresh coat yet.
Watch for these:
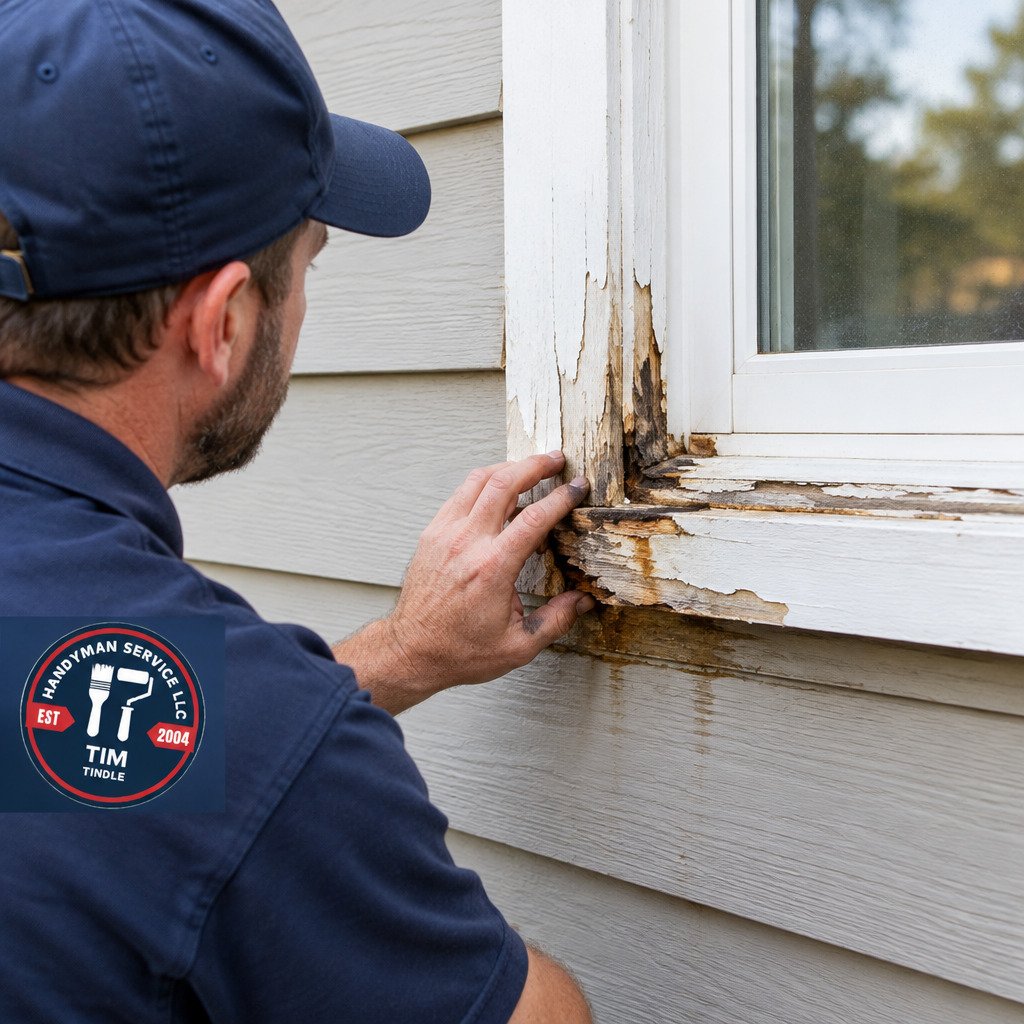
- Peeling or chipping near the stove or sink, where steam attacks the paint film
- Cracking along seams and corners as the coating dries out
- Fading or discoloration above the cooktop
- Grease buildup that leaves a tacky feel after washing
- Mildew as dark speckling in damp corners
- Scuffs and surface wear around light switches and door frames
One more test: rub a damp cloth across a hidden spot. If paint transfers to the cloth, the coating is breaking down.
How to Clean Painted Kitchen Walls Before You Decide
Clean the walls before you judge them. Grease and cooking residue mimic failing paint, and many walls look worn when they only need washing. A degreasing cleaner, warm water, and a soft sponge will tell you the truth in about an hour.
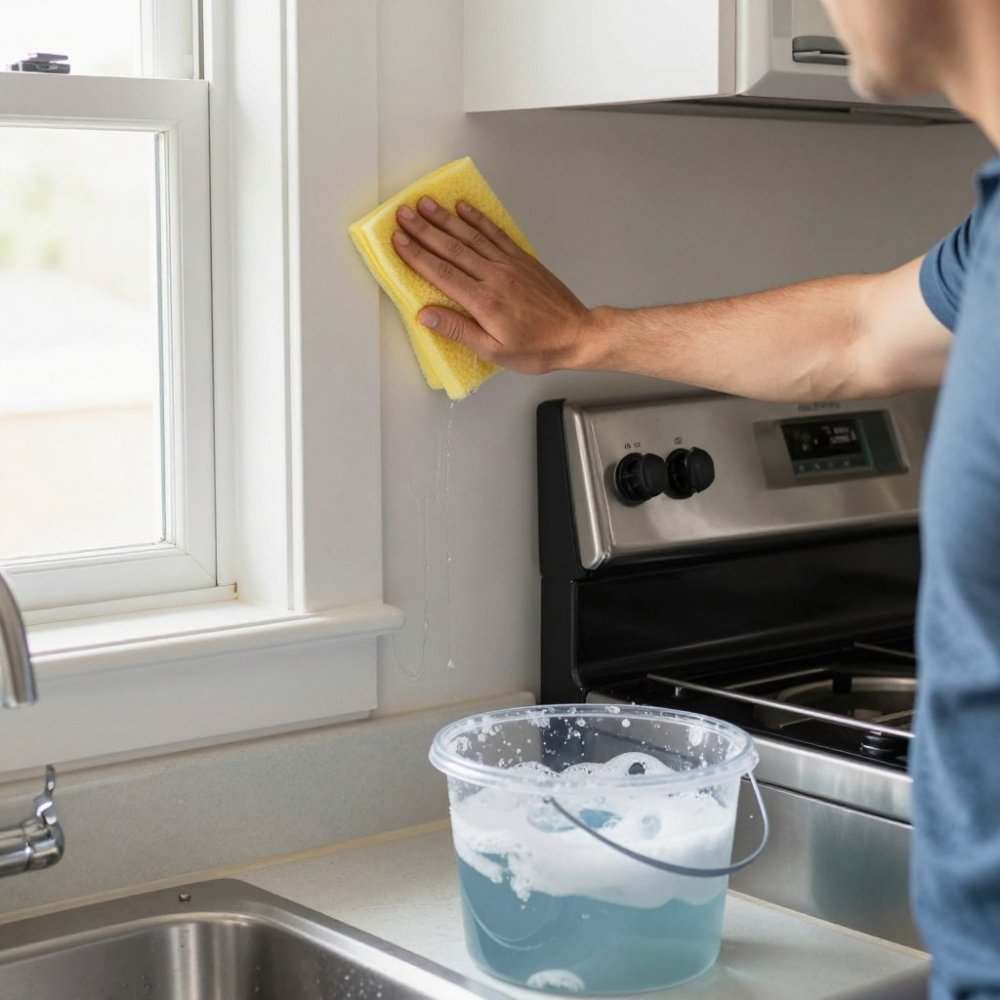
Work top to bottom so drips do not streak clean sections. Use a degreaser on the backsplash zone and plain soapy water elsewhere. Rinse with a clean damp cloth, then let the wall dry fully.
A Cleaning-First Decision Path
A single thorough cleaning can often resolve the "does it need paint?" question before you price a repaint. Use this sequence before you price a repaint:
- Degrease the splash zone. Apply a degreaser to the wall within about three feet of the stove and sink, let it dwell per the label, then wipe with a soft sponge. Grease that lifts cleanly is maintenance, not failure.
- Wash the remaining walls. Use warm water and a mild dish soap solution. Avoid abrasive pads, which dull the sheen and create the scuffs you are trying to remove.
- Rinse and dry fully. Residual cleaner attracts dust and can interfere with touch-up paint. Let the wall dry for at least an hour before judging color or texture.
- Inspect under raking light. Hold a flashlight parallel to the wall. Raking light reveals peeling edges, hairline cracks, and patchy sheen that flat lighting hides.
What the Inspection Tells You
After cleaning, sort what you see into two buckets: cosmetic and structural.
Cosmetic (clean or touch up, do not repaint yet):
- Faint scuffs around light switches and door frames
- Grease shadows that fade after degreasing
- Minor color variation from sunlight near a window
Structural (repainting is the practical call):
- Paint that peels away in sheets or flakes when pressed
- Dark speckling in corners or along the ceiling line that reappears after cleaning, which suggests mildew rather than dirt
- Staining that remains after degreasing, especially above the cooktop
- A chalky residue that transfers to your hand or cloth, indicating the coating is breaking down
- Bubbling, blistering, or paint that lifts from the substrate
Watch out: if the wall feels tacky after it dries, grease has bonded into the paint film and no amount of washing will fix it. That tackiness is a reliable signal that the coating needs to come off before a new coat goes on.
The Damp-Cloth Test
Rub a damp white cloth across a hidden spot, such as behind the refrigerator or under a upper cabinet. If paint transfers to the cloth, the coating is chalking and breaking down. Chalking paint will not hold a new coat well without primer.
If the surface comes back smooth and even, you have bought yourself years. If stains remain, paint is peeling, or the color looks patchy, repainting is the practical call. For readers weighing a full refresh against spot repairs, our guide on how to choose the right paint finish for kitchen walls explains which sheens tolerate repeated washing best.
The Best Paint Finish for Kitchen Walls
The best paint finish for kitchen walls is satin or semi-gloss. Both resist moisture and wipe clean without scrubbing the paint off. Flat finishes hide flaws but trap grease, which is the wrong trade in a cooking space.
Here is how the options compare:
| Finish | Durability | Best For | Trade-Off |
|---|---|---|---|
| Flat | Low | Low-traffic dining nooks | Hard to wash |
| Eggshell | Medium | Lower kitchen walls | Shows scuffs |
| Satin | High | Most kitchen walls | Slight sheen |
| Semi-gloss | Highest | Backsplash, near stove | Highlights flaws |
A durable paint with a washable finish does more for lifespan than any repainting schedule. For a deeper comparison of sheens and where each belongs, see our guide on how to choose the right paint finish for kitchen walls.
How to Prepare Walls for Painting
Preparation decides how long the new paint lasts. Skip it and the fresh coat fails early, often within a couple of years. In a kitchen, prep is harder than in any other room because grease, steam, and cooking residue sit between the old coating and the new one. Budget more time for prep than for painting.
Step 1: Clear and Protect
Move appliances away from the walls and shift small items to another room. Cover counters and floors with drop cloths. Remove outlet covers and switch plates, and tape the screws to the plates so you do not lose them.
Step 2: Degrease Every Surface
This is the step most homeowners rush, and it is the one that causes premature failure. Paint will not bond well to a greasy wall. Use a degreaser on the splash zone and a mild soap solution elsewhere, then rinse with clean water and let the wall dry completely.
Step 3: Test for Moisture and Mildew
Press a piece of aluminum foil against the wall in a suspect corner, seal the edges with tape, and leave it overnight. Condensation on the underside in the morning points to moisture moving through the wall, which will push paint off from behind. Treat mildew with a mildewcide cleaner before painting, and fix the moisture source, such as a leak or a fan that vents nowhere, before you recoat.
Step 4: Scrape and Sand
Scrape loose or peeling paint with a putty knife. Sand glossy areas lightly so primer can grip, then feather the edges of patched areas so they do not telegraph through the new coat. Wipe away dust with a tack cloth.
Step 5: Patch and Prime
Patch holes and cracks with spackle, sand smooth, and spot-prime the patches. For grease stains and water marks that survived cleaning, use a stain-blocking primer rather than a standard primer; ordinary primer will let the stain bleed through the topcoat.
Step 6: Cut In and Roll
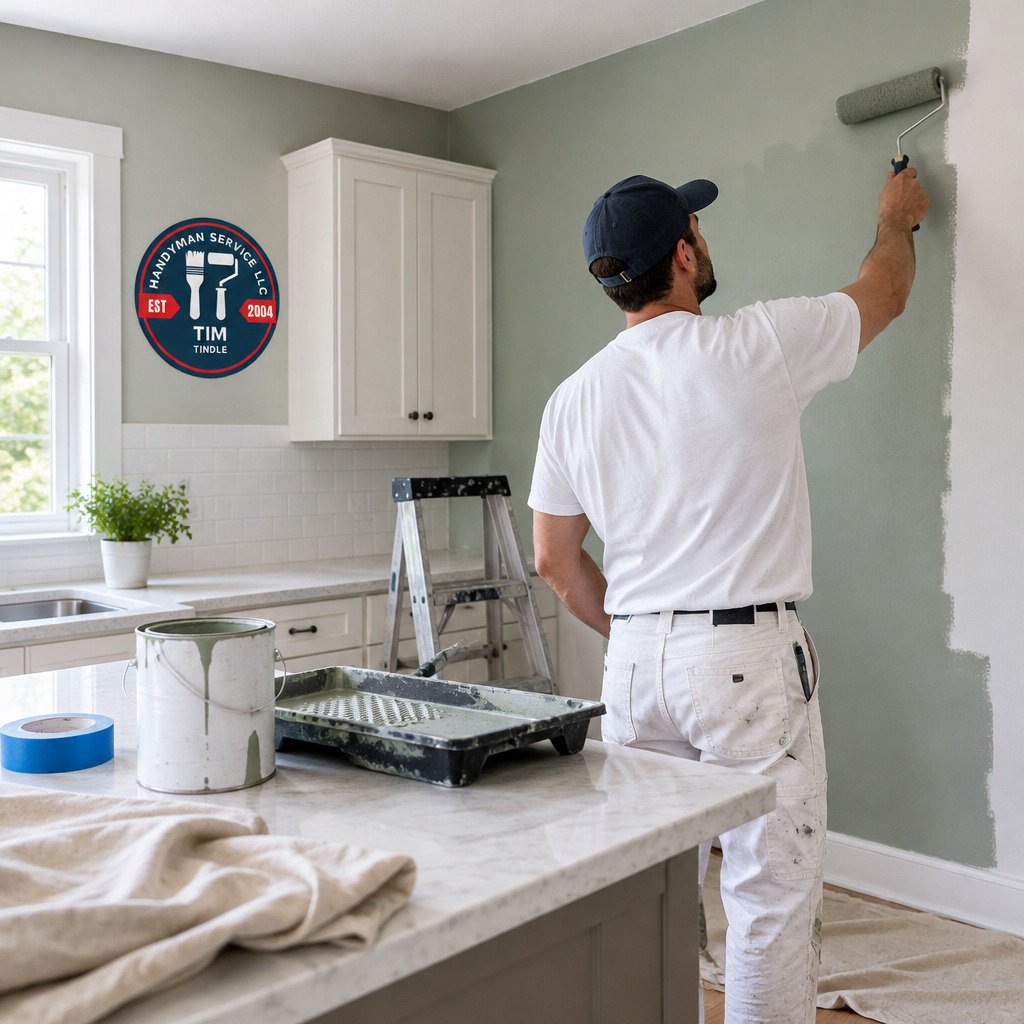
Cut in edges with a brush, then roll two coats, letting each dry fully per the label. Do not back-roll over partially dried paint, which leaves lap marks. Keep a wet edge as you move across the wall.
Watch out: painting over a damp or greasy wall traps the problem under the new coat, and the failure shows up as peeling or blistering within a season. If the wall fails the foil test or still feels tacky after degreasing, stop and fix the underlying condition before you open a can of paint.
Buying paint? Our guide on how to calculate how much paint is needed for a room saves you a second trip. Found damage behind the counter? Here is how to patch drywall holes larger than 4 inches before you paint.
What Changes the Timeline: Cooking, Moisture, and Household Activity
Cooking habits and moisture drive paint wear more than anything else. A kitchen with a working exhaust fan and light frying stays clean for years. A kitchen without ventilation collects grease on every surface within months.
An active household shortens the clock too. Children, pets, and high-traffic areas add scuffs and stains that no paint resists forever. Heavy frying, frequent boiling, and a fan that vents nowhere all push you toward the shorter end of the range.
The fix is cheap. Run the exhaust fan every time you cook, wipe the wall behind the stove monthly, and fix leaks before moisture reaches the paint. For more upkeep habits that protect your home, read common home maintenance mistakes to avoid.
Book a Professional Repaint for Your Kitchen Walls
If the inspection points to repainting, you have two paths: a weekend of prep and two coats, or a crew that handles washing, patching, priming, and cleanup in one visit. Most busy homeowners pick the second.
Handyman Service Aurora provides licensed and insured services across Aurora, Foxfield, Parker, Centennial, and the Denver Metro area. Free estimates give you a clear picture of the scope before work starts.
Get started with Handyman Service Aurora and schedule a free estimate for your kitchen repaint. Call 720-989-4123.
Your kitchen walls will tell you when they are ready for paint. Grease that will not wash off, peeling near the stove, and stains that survive a scrub are the real signals, not a number on a calendar.
Frequently Asked Questions
How often should you repaint kitchen walls?
There is no single schedule that fits every kitchen. Repainting intervals vary widely depending on how the paint is holding up. The right interval depends on cooking frequency, moisture, grease buildup, and how the walls look. Inspect the walls once a year and repaint when you see stains, peeling, or discoloration that cleaning cannot fix.
Can you wash kitchen walls instead of repainting them?
Yes, in many cases. A mix of warm water and a mild degreaser can lift cooking residue, dust, and light scuffs from washable paint finishes like satin or semi-gloss. Cleaning first also tells you whether the walls actually need a fresh coat or just a good scrub. If stains remain after cleaning, or the paint is peeling or chipping, repainting is the better move. Clean walls also help new paint adhere properly.
What type of paint is best for kitchen walls?
A satin or semi-gloss finish is usually the best paint finish for kitchen walls because it resists moisture and wipes clean without scrubbing away the paint. High-quality washable paint labeled for kitchens or bathrooms holds up better against grease and humidity than flat finishes. Flat paint hides imperfections but traps stains and is harder to clean, so it is a poor fit for cooking areas.
Does cooking make kitchen walls need repainting sooner?
Yes. Frequent frying, high-heat cooking, and weak ventilation push grease and moisture onto the walls, which speeds up discoloration and surface wear. An exhaust fan that vents outside and regular wipe-downs slow that process. Households that cook daily, especially with oil, often need a fresh coat sooner than the three-to-four-year or ten-year estimates suggest. Inspect walls near the stove first, since that is where wear shows up earliest.